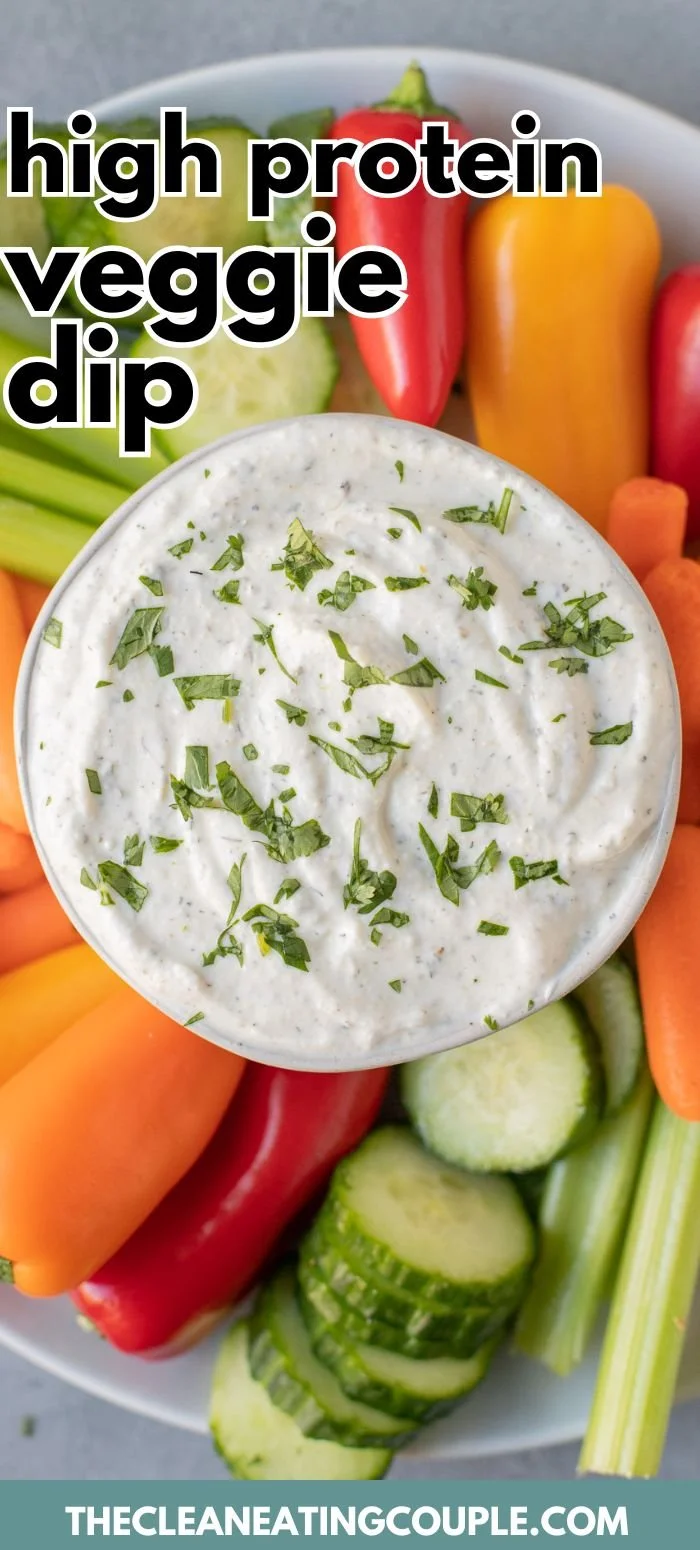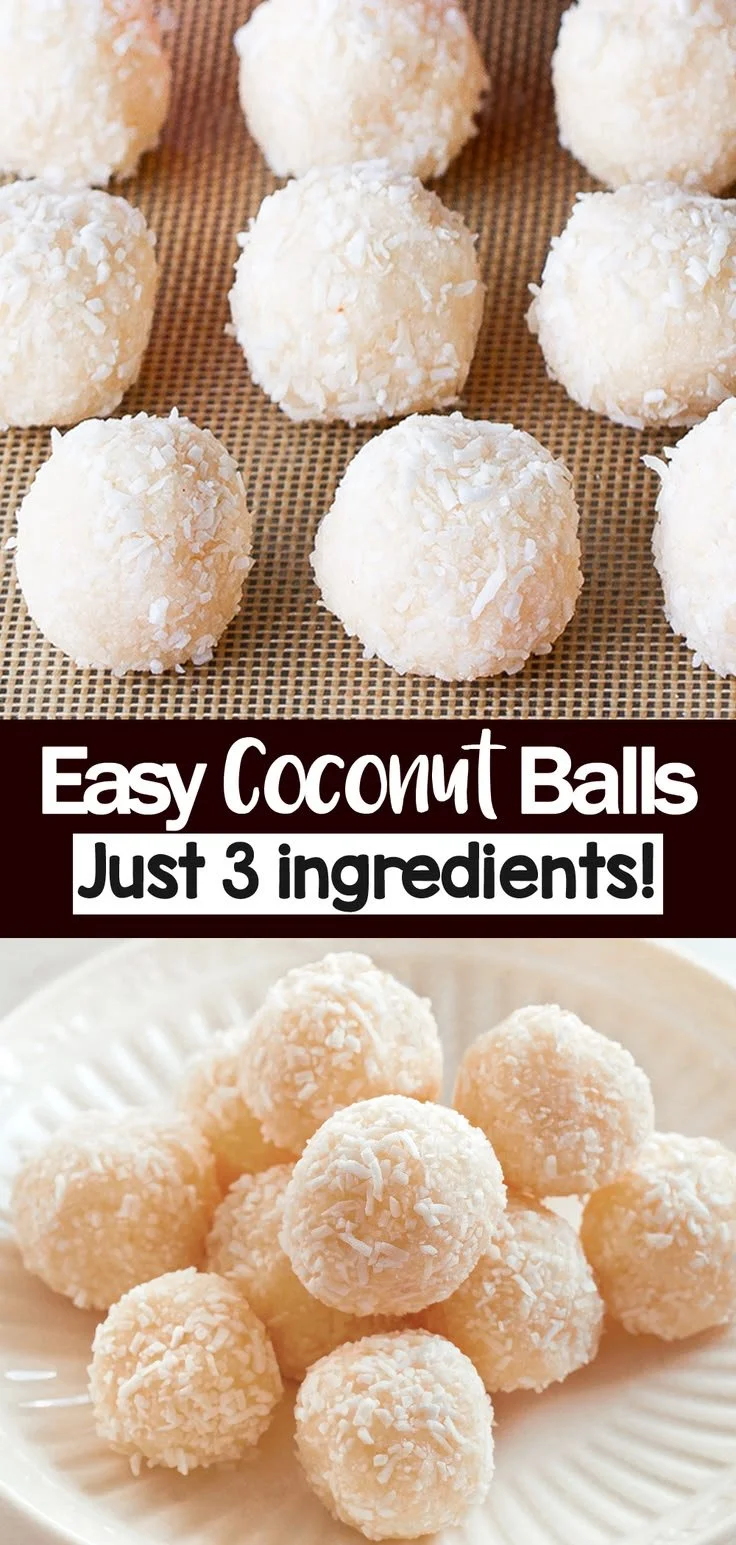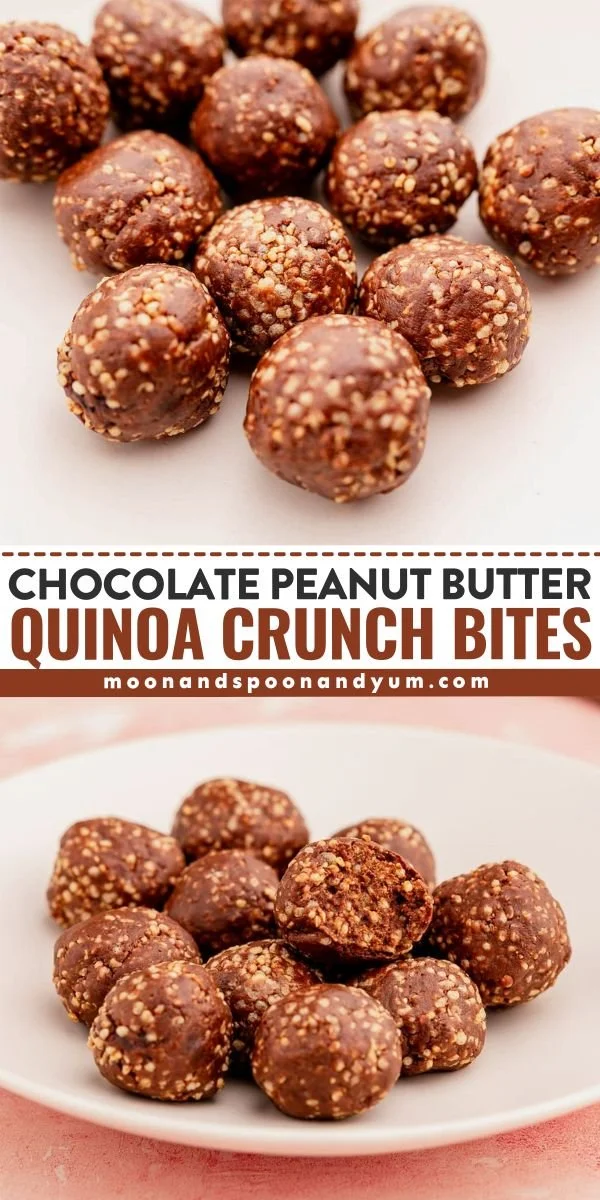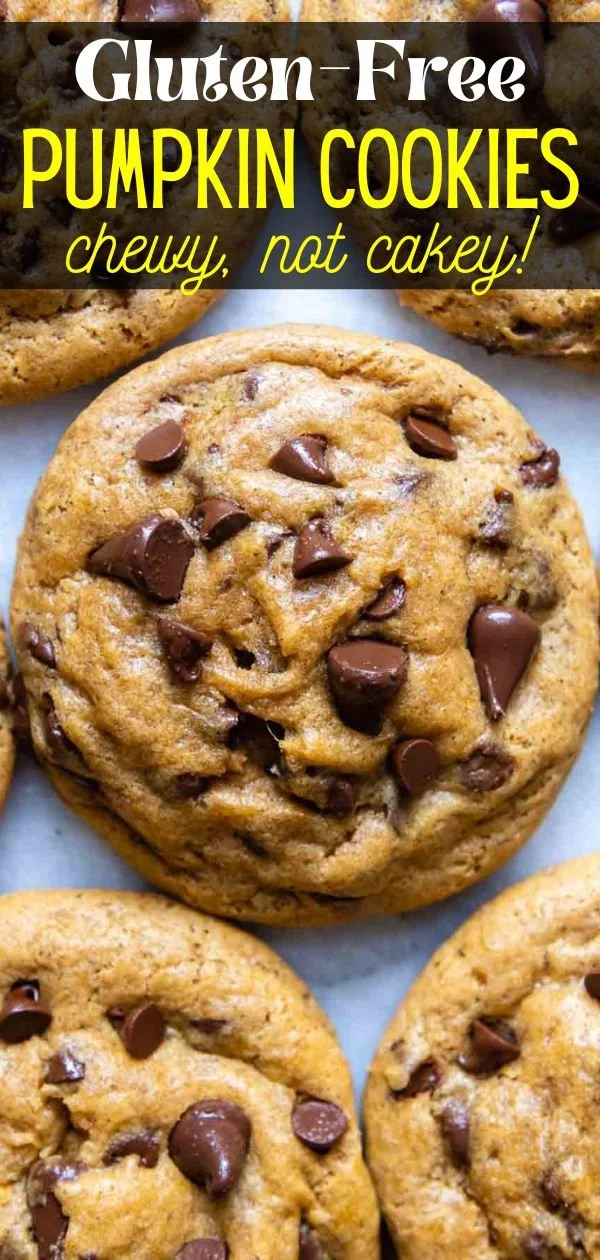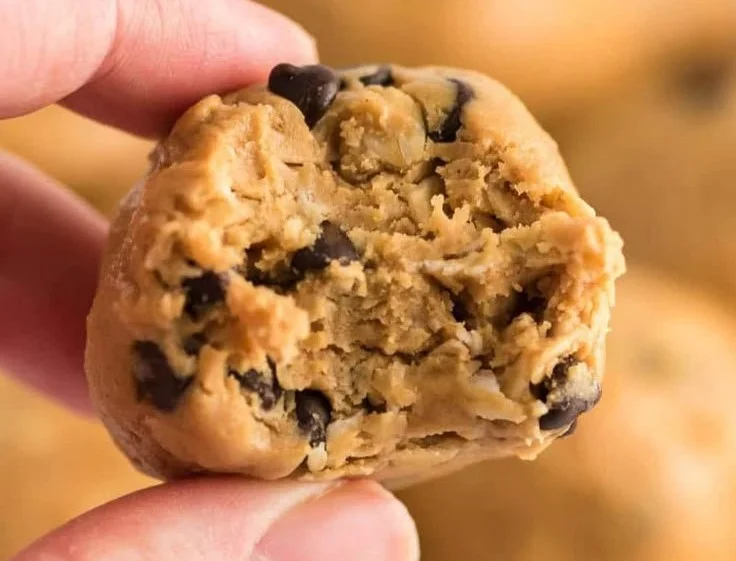
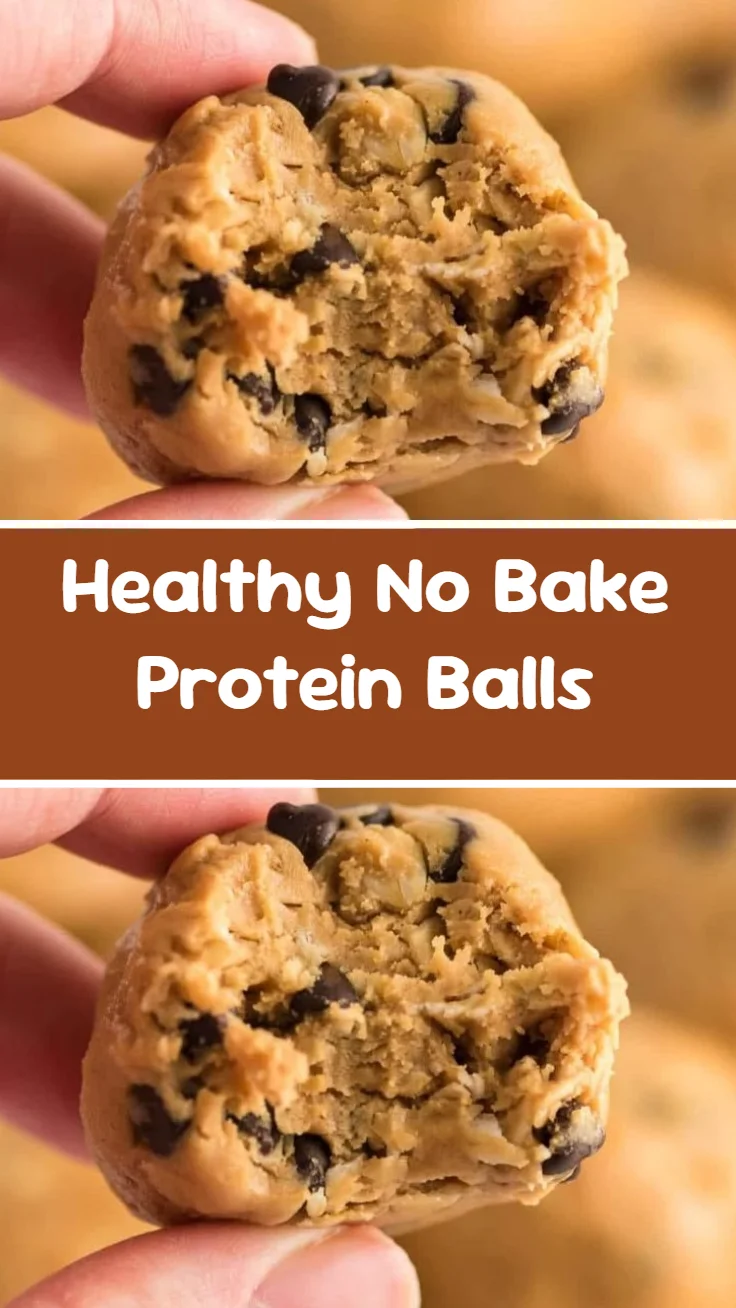
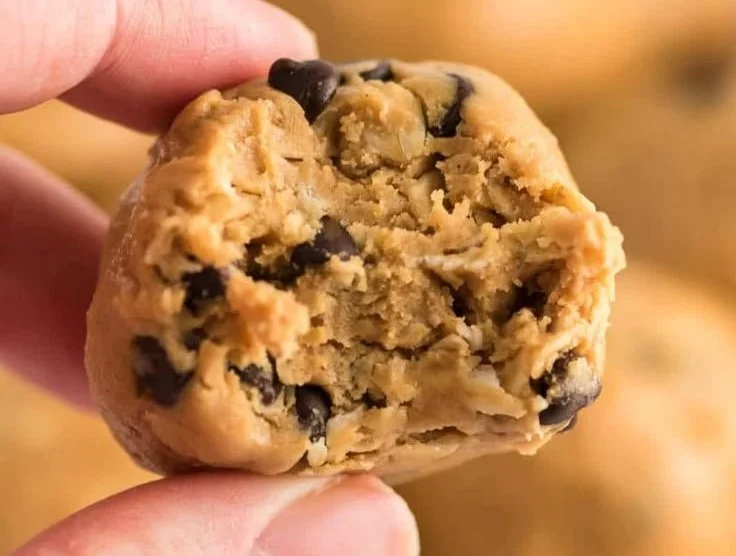
Healthy No Bake Protein Balls are a fantastic snack choice that combines convenience, nutrition, and great taste. Perfect for busy individuals and families, these protein-packed bites make a delightful treat that satisfies cravings while fueling your day. The best part? They require no baking, making them super easy to whip up anytime.
Why You’ll Love Healthy No Bake Protein Balls
- Quick and Easy Preparation: With minimal effort, you can have a batch ready in no time, making them great for busy schedules.
- Nutritious Ingredients: Made with oats, nut butter, and protein powder, these protein balls offer a balanced dose of nutrients to keep you energized.
- Customizable: You can easily adjust the flavors and ingredients to suit your taste preferences or dietary needs, making them versatile for everyone.
- Healthy Snack Option: These protein balls are healthier than store-bought snacks, packing protein and fiber to keep you full longer.
- Great for Meal Prep: Prepare a large batch at once, and you’ll have a quick and healthy snack ready for the week ahead.
Recipe Overview
- Prep Time: 10 minutes
- Cook Time: 0 minutes
- Total Time: 40 minutes (includes chilling time)
- Servings: About 12 protein balls
- Difficulty Level: Easy
Ingredients You’ll Need for Healthy No Bake Protein Balls
-
Dry Ingredients:
- 1 cup oats (old-fashioned or quick)
- 1/2 cup protein powder (any flavor you like)
-
Wet Ingredients:
- 1/2 cup nut butter (peanut, almond, or your favorite)
- 1/4 cup honey or maple syrup
-
Flavor Enhancers:
- 1/4 cup chocolate chips (or dried fruit for a different flavor)
- 1 teaspoon vanilla extract
Ingredient Notes:
- Old-fashioned oats provide a chewy texture, while quick oats make the mixture smoother.
- Feel free to swap nut butter for sun butter for a nut-free version.
- You can use any type of protein powder, depending on your taste and dietary restrictions.
How to Make Healthy No Bake Protein Balls
-
Mix the Base: In a medium bowl, combine oats, protein powder, nut butter, honey (or maple syrup), chocolate chips, and vanilla extract. Stir until everything is well mixed and fully combined.
-
Form the Balls: Use your hands to scoop the mixture and roll it into small balls, about 1 inch in diameter. Press firmly to help them hold their shape.
-
Chill: Place the protein balls on a baking sheet lined with parchment paper. Refrigerate for at least 30 minutes to firm up.
-
Store: Once firm, transfer the protein balls to an airtight container. Keep them refrigerated for optimal freshness.
Tips for Success
- Ingredient Temperature: Make sure your nut butter is at room temperature, as this will help blend the mixture easily.
- Stickiness Control: If the mixture is too sticky to handle, add more oats or protein powder until you achieve the desired consistency.
- Chilling Time: Don’t skip the chilling time; it helps the protein balls hold together and improves the texture.
- Using Sweeteners: Adjust the sweetness according to your taste. If you prefer less sweetness, reduce the honey or maple syrup.
Easy Variations
- Nut-Free Version: Substitute nut butter with sunflower seed butter or tahini for a nut-free protein ball.
- Different Flavors: Change the protein powder to chocolate or vanilla for unique flavors.
- Add Spices: Incorporate cinnamon or cocoa powder to enhance the taste.
- Boost Nutrition: Add chia seeds or flaxseeds for extra fiber and omega-3 fatty acids.
What to Serve with Healthy No Bake Protein Balls
- Fruit: Pair with fresh fruit like apples or bananas for a balanced snack.
- Yogurt: Serve with a dollop of Greek yogurt for added protein and creaminess.
- Nuts: A handful of mixed nuts complements the protein balls and adds crunch.
- Smoothies: Enjoy them alongside a smoothie for a delicious and satisfying breakfast or post-workout snack.
Storage and Reheating
- Refrigerator: Store protein balls in an airtight container in the fridge for up to 1 week.
- Freezer: For longer storage, freeze them for up to 3 months. Just thaw them in the fridge before enjoying.
- Maintain Texture: Eating them chilled or at room temperature works best to keep the texture enjoyable.
Common Mistakes to Avoid
- Overmixing: Don’t overmix the ingredients; this can lead to a mushy texture.
- Skipping Chilling Time: This step is crucial for the balls to firm up properly.
- Not Storing Properly: Leaving them out at room temperature can lead to a loss of texture and freshness.
Healthy No Bake Protein Balls: Background & Cultural Inspiration
Healthy No Bake Protein Balls draw inspiration from traditional snack foods that prioritize convenience and nutrition. These treats echo the ideas of energy balls and protein bars found in various cultures, emphasizing wholesome ingredients that cater to a busy lifestyle. They are tailored to modern needs for healthy eating, fitting perfectly into meal prep and active routines.
Frequently Asked Questions
Can I use a different type of protein powder?
Yes, any flavor of protein powder can be used. Adjust sweeteners based on the type used.
How long do these protein balls last?
They can last up to a week in the refrigerator or up to three months in the freezer.
Can I make these vegan?
Yes, by using maple syrup instead of honey and ensuring the protein powder is plant-based.
What’s the best way to store them?
Keep them in an airtight container in the refrigerator for the freshest taste, or freeze for longer storage.
Can I add more ingredients?
Absolutely! Consider adding seeds, dried fruits, or spices to customize your protein balls.
Final Thoughts
Healthy No Bake Protein Balls are a delicious and easy snack that cater to busy lifestyles. They’re packed with nutrition, making them a perfect choice for quick energy and satisfying cravings. Give this recipe a try, and discover how wonderful it feels to have a healthy treat on hand whenever you need it!
[wprm-recipe id=”cURL error 28: Operation timed out after 30002 milliseconds with 0 bytes received (see https://curl.haxx.se/libcurl/c/libcurl-errors.html) for https://dishdashkitchen.com/wp-json/contai/v1/wprm_recipe”]