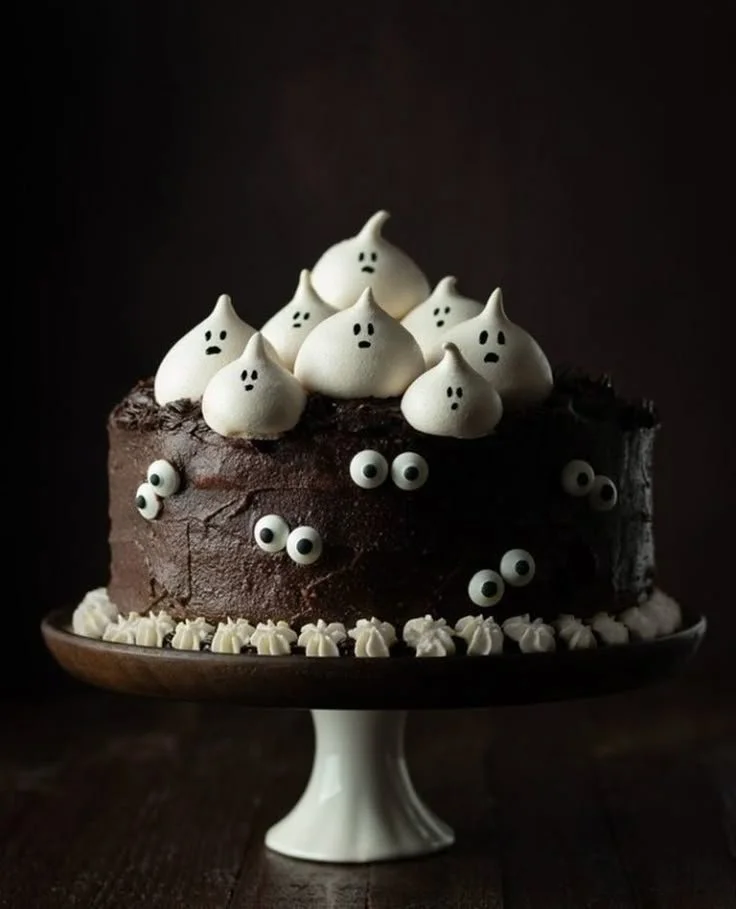
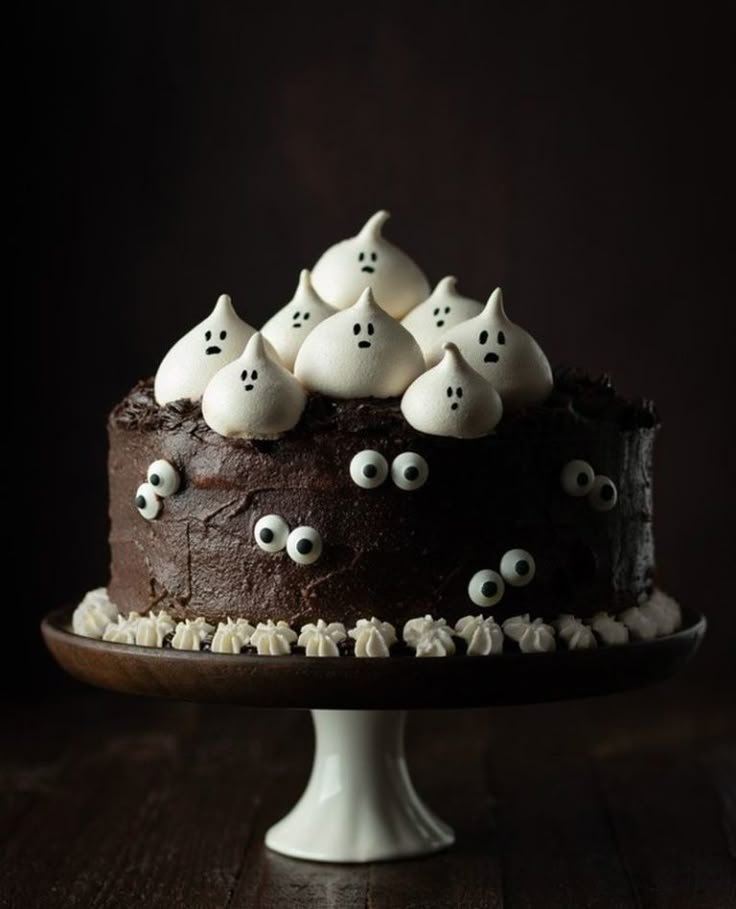
Indulge in the spirit of Halloween with this festive Halloween Layer Cake. This recipe not only brings a delightful burst of flavor but also elevates your Halloween gatherings with its colorful and playful layers. With its vibrant hues and whimsical decoration, it’s a perfect centerpiece for any spooky celebration, making it an exciting project for both novice and seasoned bakers alike.
Why You’ll Love Halloween Layer Cake
- Visually Stunning: The contrasting layers of color make this cake an eye-catching treat, impressing your guests and brightening any Halloween-themed event.
- Simple to Make: With straightforward steps and common ingredients, even beginner bakers can successfully create this festive cake.
- Customizable Flavor: Use your favorite cake flavors in the colorful layers or frost it in a way that reflects your personal style and taste.
- Fun for All Ages: This cake is a wonderful baking project the whole family can enjoy, allowing for creativity with colors and decorations.
- Perfectly Sweet: The balance of rich buttercream or cream cheese frosting lends a delightful sweetness that complements the cake’s moist texture.
Recipe Overview
- Prep Time: 30 minutes
- Cook Time: 25-30 minutes
- Total Time: 1 hour (plus cooling time)
- Servings: 12 slices
- Difficulty Level: Easy
Ingredients You’ll Need for Halloween Layer Cake
- Cake Base:
- 2 cups all-purpose flour
- 1 1/2 cups granulated sugar
- 1 cup unsalted butter, softened
- 4 large eggs
- 1 cup milk
- 1 tablespoon vanilla extract
- 2 teaspoons baking powder
- 1 teaspoon baking soda
- 1/2 teaspoon salt
- Coloring and Topping:
- Food coloring (orange, black, purple)
- Frosting (buttercream or cream cheese frosting)
- Halloween-themed sprinkles
How to Make Halloween Layer Cake
-
Preheat the Oven: Set your oven to 350°F (175°C). Grease and flour your cake pans to ensure easy removal.
-
Cream Butter and Sugar: In a large mixing bowl, beat together the softened butter and sugar until light and fluffy. This ensures a rich texture in your cake.
-
Add Eggs: Incorporate the eggs one at a time into the mixture, mixing well after each addition to fully integrate.
-
Mix in Milk and Vanilla: Pour in the milk and vanilla extract, stirring until the batter is smooth and well combined.
-
Combine Dry Ingredients: In another bowl, sift together the flour, baking powder, baking soda, and salt. Gradually mix this dry mixture into the wet batter, blending until just combined to avoid overmixing.
-
Color Your Batter: Divide the batter into separate bowls depending on how many colors you’re using. Add food coloring to each and mix until you achieve vibrant colors.
-
Layer the Batter: Pour the colored batters into the prepared cake pans. You can layer them for a striped effect or swirl together for a marbled look.
-
Bake: Place the pans in the preheated oven and bake for 25-30 minutes, or until a toothpick inserted in the center comes out clean. Keep an eye on the cakes as baking times may vary.
-
Cool and Frost: Let the cakes cool in the pans for about 10 minutes before transferring to a wire rack. Once cool, frost with your choice of cream cheese or buttercream frosting and decorate with Halloween-themed sprinkles.
Tips for Success
- Measure Ingredients Accurately: Use a kitchen scale for precise measurements, especially for flour, which can be compacted.
- Room Temperature Ingredients: Ensure that eggs and butter are at room temperature for better emulsion, leading to a more uniform texture.
- Don’t Overmix: When combining dry and wet ingredients, mix just until incorporated to prevent a dense cake.
- Color Wisely: Start with a few drops of food coloring and add more until you reach your desired shade, as it’s easier to darken than to lighten.
- Frosting Techniques: Use a spatula or a piping bag for decorative frosting—try a simple swirl or a smooth finish for a professional look.
Easy Variations
- Flavored Layers: Substitute some of the plain batter with chocolate or spice cake batter for added flavor.
- Lighter Version: Use Greek yogurt instead of butter for a lower-fat alternative that maintains moisture.
- Gluten-Free Option: Swap the all-purpose flour for a gluten-free flour blend.
- Dairy-Free Option: Use almond or oat milk instead of regular milk and a dairy-free butter substitute.
- Add-Ins: Mix in chocolate chips or nuts to the batter for extra texture and flavor.
What to Serve with Halloween Layer Cake
- Pumpkin Spice Lattes: The warm flavors complement the sweetness of the cake beautifully.
- Apple Cider: A refreshing drink that pairs perfectly with the festive spirit of the cake.
- Halloween Themed Cocktails: Offer a fun adult beverage option for your guests.
- Gingerbread Cookies: A delightful side treat that enhances the seasonal theme of your party.
- Fruit Salad: A light and fresh option balances the richness of the cake.
Storage and Reheating
- Refrigerator Storage: Keep leftover cake in an airtight container in the fridge for up to 5 days.
- Freezer Storage: You can freeze individual slices in plastic wrap and store them in a freezer bag for up to 3 months.
- Reheating: For best results, thaw slices in the refrigerator overnight and enjoy at room temperature. If you prefer, microwave for about 10-15 seconds to warm slightly.
- Preserving Texture: Frosting can help keep the cake moist, so don’t hesitate to frost even if you plan to refrigerate.
Common Mistakes to Avoid
- Not Measuring Flour Correctly: Use the spoon-and-level method to avoid packing flour, which can lead to a dry cake.
- Opening Oven Door Too Soon: Avoid checking the cake in the first 20 minutes to prevent a collapsed structure.
- Frosting Too Early: Ensure the cake is completely cool before frosting to prevent melting and sliding.
- Using Old Ingredients: Check expiration dates on baking powder and soda to ensure proper rise.
- Skipping the Cooling Step: Letting the cake cool completely is essential before decorating to preserve its structure.
Halloween Layer Cake: Background & Cultural Inspiration
This Halloween Layer Cake blends the festive spirit of Halloween with the joy of baking. Layer cakes have a rich history originating from multi-tiered wedding cakes, showcasing artistry in baking. Traditionally, cakes are often colorful and whimsical, especially during seasonal festivities. The custom of decorating cakes for Halloween, particularly with vibrant colors and playful themes, reflects the holiday’s playful nature. By combining flavors and hues, this cake serves as a delicious tribute to Halloween’s creativity and fun.
Frequently Asked Questions
Can I use a different frosting type?
Absolutely! While buttercream and cream cheese frosting are popular choices, you can opt for whipped cream or ganache for a different flavor profile.
How long can I store the cake?
When properly stored, the cake can last up to 5 days in the fridge or can be frozen for 3 months.
Can I make this cake in advance?
Yes, you can bake the layers a day ahead and store them in the fridge. Frost the cake on the day you plan to serve it for the freshest taste.
What if my cake sinks in the middle?
This may be due to underbaking or mixing too much air into the batter. Make sure to bake until a toothpick comes out clean, and avoid overmixing after adding the flour.
Can I use dairy-free milk?
Yes, dairy-free milk like almond or oat milk can replace regular milk without affecting the cake’s texture.
Final Thoughts
The Halloween Layer Cake is not just a treat; it’s a festive experience that invites creativity and family fun in the kitchen. With its vibrant layers and delightful frosting, this cake will surely be a hit at your Halloween gatherings. Whether you’re a beginner or an experienced baker, this recipe offers a great opportunity to impress your loved ones while indulging in the sweet spirit of the season. Give it a try, and watch as it becomes a new tradition for your autumn celebrations!
PrintHalloween Layer Cake
A visually stunning and festive layer cake perfect for Halloween gatherings, featuring colorful layers, rich frosting, and playful decorations.
- Prep Time: 30 minutes
- Cook Time: 30 minutes
- Total Time: 60 minutes
- Yield: 12 slices
- Category: Dessert
- Method: Baking
- Cuisine: American
- Diet: Vegetarian
Ingredients
- 2 cups all-purpose flour
- 1 1/2 cups granulated sugar
- 1 cup unsalted butter, softened
- 4 large eggs
- 1 cup milk
- 1 tablespoon vanilla extract
- 2 teaspoons baking powder
- 1 teaspoon baking soda
- 1/2 teaspoon salt
- Food coloring (orange, black, purple)
- Frosting (buttercream or cream cheese frosting)
- Halloween-themed sprinkles
Instructions
- Preheat the oven: Set your oven to 350°F (175°C) and grease and flour your cake pans.
- Cream the butter and sugar: In a large mixing bowl, beat together the softened butter and sugar until light and fluffy.
- Add the eggs: Incorporate the eggs one at a time, mixing well after each addition.
- Mix in the milk and vanilla: Pour in the milk and vanilla extract, stirring until smooth.
- Combine dry ingredients: In another bowl, sift together the flour, baking powder, baking soda, and salt, then gradually mix this into the wet batter.
- Color your batter: Divide the batter into separate bowls, add food coloring, and mix until you achieve vibrant colors.
- Layer the batter: Pour the colored batters into the prepared cake pans.
- Bake: Place the cake pans in the oven and bake for 25-30 minutes.
- Cool and frost: Let the cakes cool, then frost with your choice of frosting and decorate with sprinkles.
Notes
Use room-temperature ingredients for better emulsion and texture. Avoid overmixing to prevent a dense cake.