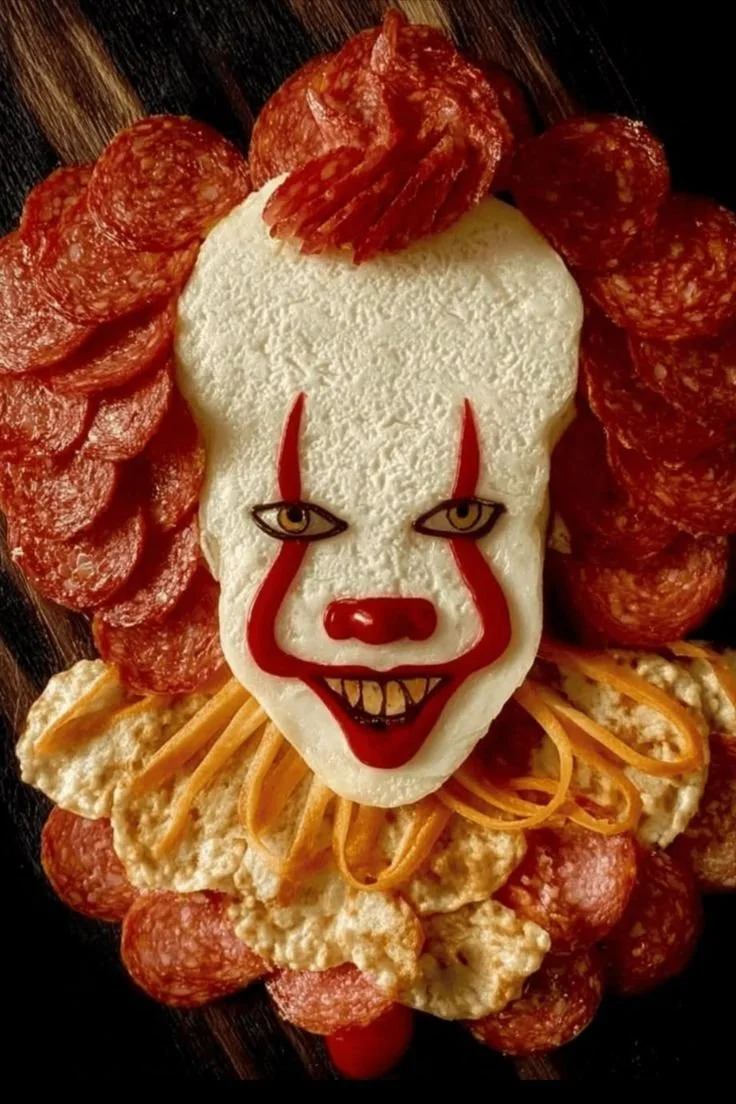
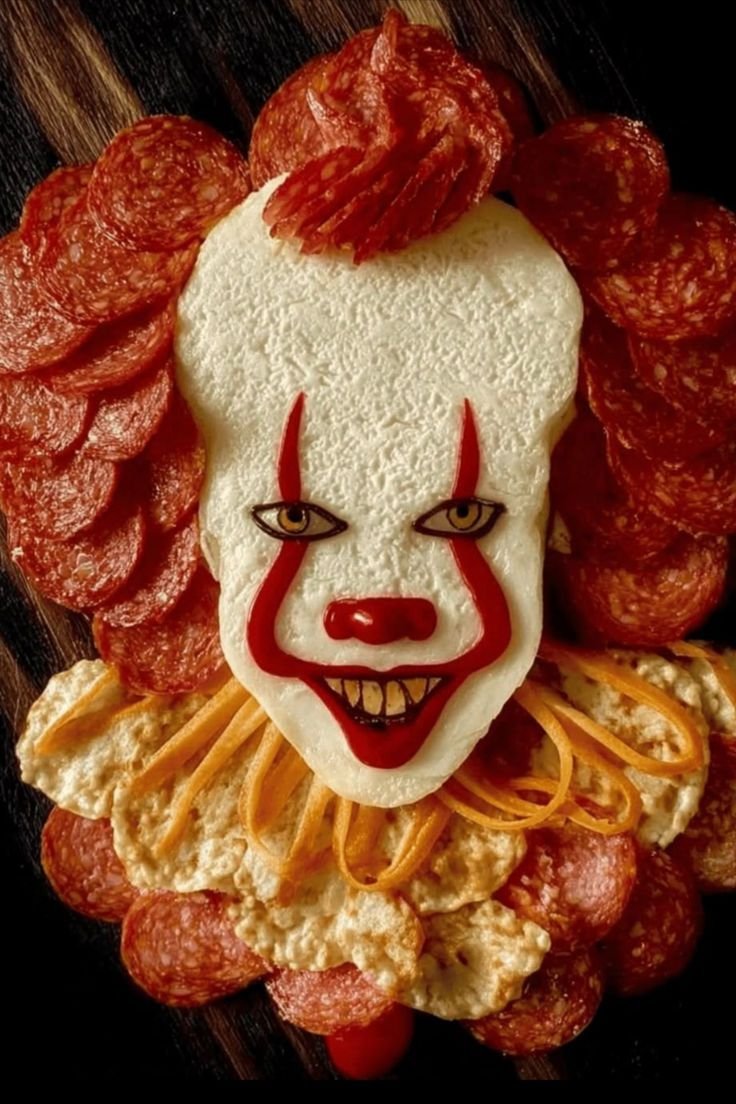
Haunted Halloween Party Snack Board is a delightful and spooky way to celebrate the season. This fun recipe is perfect for parties, allowing you to create a visually appealing spread that delights kids and adults alike. With delicious skeleton breadsticks and playful dips, this snack board is both festive and easy to assemble, making it a must-try for your Halloween festivities.
Why You’ll Love Haunted Halloween Party Snack Board
- Easy Assembly: With straightforward ingredients, you can whip up this spooky snack board in no time, making it ideal for last-minute gatherings.
- Interactive Fun: It’s not just a snack; it’s an experience! Guests will love customizing their plates with various dips and decorations.
- Visual Appeal: The creepy design and vibrant colors make this snack board a showstopper, perfect for Instagram-worthy moments.
- Versatile Dips: Featuring a creamy “bloody” dip alongside marinara sauce, the flavors appeal to many tastes, ensuring everyone finds something they enjoy.
- Family-Friendly: This recipe is approachable for even the youngest of chefs, allowing kids to join in on the fun of preparation and decoration.
- Budget-Friendly: Simple ingredients keep costs down, letting you create a stunning board without breaking the bank.
Recipe Overview
- Prep Time: 10 minutes
- Cook Time: 12 minutes
- Total Time: 22 minutes
- Servings: 6-8
- Difficulty Level: Easy
Ingredients You’ll Need for Haunted Halloween Party Snack Board
- Breadsticks: The base of the skeleton figures, providing that perfect crunchy texture.
- Olive Oil: Adds flavor and helps the garlic powder stick to the breadsticks.
- Garlic Powder: Enhances the savory flavor of the breadsticks.
- Marinara Sauce (for dipping): A classic favorite that pairs well with breadsticks.
- Cream Cheese: Forms the base of the “bloody” dip—smooth and creamy.
- Red Food Coloring: Used to create the spooky blood effect in the dip.
- Gummy Spiders: For decoration, adding a fun and eerie element.
- Assorted Vegetables (carrots, celery): Great for dipping and for a healthy contrast to the other treats.
- Cheese (optional): Use shredded cheese or cheese cubes to add another snacking element to the board.
How to Make Haunted Halloween Party Snack Board
- Preheat the Oven: Begin by preheating your oven to 375°F (190°C) to ensure the breadsticks bake evenly.
- Prepare the Breadsticks: Lightly brush each breadstick with olive oil and sprinkle them with garlic powder for enhanced flavor.
- Bake the Breadsticks: Place the breadsticks on a baking sheet and bake until they are golden and crispy, about 10-12 minutes. Keep an eye on them to avoid burning.
- Make the “Bloody” Dip: In a bowl, mix cream cheese with a few drops of red food coloring until you achieve a striking red color, resembling blood.
- Assemble the Snack Board: Once the breadsticks are baked, arrange them on a large serving board alongside a bowl of marinara sauce and the bloody dip.
- Add Decorations: Scatter gummy spiders and assorted vegetables around the dips for a festive touch that enhances the overall Halloween theme.
Tips for Success
- Watch the Breadsticks: Ovens can vary, so check the breadsticks a minute or two before the suggested time to avoid over-baking.
- Mix the Dips: For additional flavor, consider adding herbs or spices to the cream cheese dip, like garlic powder or fresh herbs.
- Presentation Matters: Play around with the arrangement of the breadsticks and dips to create a visually appealing layout for your board.
- Use Fresh Vegetables: Crisp and fresh veggies will provide the best texture and taste for dipping.
- Customize the Spookiness: Feel free to add other spooky decorations like plastic insects or even ghost-shaped cheese slices to enhance the Halloween vibe.
Easy Variations
- Cheesy Breadsticks: Sprinkle grated cheese on top of the breadsticks before baking for an extra cheesy flavor.
- Spicy Dip: Add a dash of hot sauce to the cream cheese dip for a little kick.
- Vegetarian Option: Swap in more veggies, like sliced bell peppers or cucumbers, for a colorful dipping option.
- Breadstick Shapes: Use cookie cutters to shape the breadsticks into Halloween-themed figures like ghosts or bats prior to baking.
- Additional Dips: Include ranch or hummus for those who prefer different flavors over marinara.
What to Serve with Haunted Halloween Party Snack Board | Creepy Charcuterie Ideas
- Mini Meatballs: These pair well with marinara and offer a hearty contrast to the lighter dips.
- Cheese Platter: A selection of cheeses adds variety and richness, perfectly complementing the other flavors.
- Chips and Salsa: For an additional crunch, serve tortilla chips with salsa as an alternative snacking option.
- Fruit Skewers: Add some sweetness with fruit, and consider arranging them on Halloween-themed skewers for fun.
- Pretzel Bites: Their chewy texture is a great match with the dips, and they are easy to grab and enjoy.
Storage and Reheating
- Refrigerator Storage: Store any leftovers in an airtight container in the refrigerator for up to 3 days.
- Freezer Storage: The breadsticks can be frozen before baking. Store them in a freezer-safe bag for up to a month.
- Reheating Method: Reheat leftover breadsticks in the oven at 350°F (175°C) for about 5-7 minutes to restore their crispy texture.
- Preserve Texture: Avoid microwaving breadsticks, as they can become chewy instead of crispy.
Common Mistakes to Avoid
- Overbaking the Breadsticks: Keep a close watch to prevent the breadsticks from becoming too hard.
- Forgetting to Season: Don’t skip the olive oil and garlic powder—it’s crucial for flavor.
- Using Stale Ingredients: Ensure your breadsticks and cream cheese are fresh for the best taste and texture.
- Ignoring Presentation: Take time to arrange the board creatively; it enhances the appeal of the dish.
- Not Using Enough Dips: Variety keeps everyone happy; different options make the snack board more enjoyable.
Haunted Halloween Party Snack Board: Background & Cultural Inspiration
This Halloween-themed snack board draws inspiration from the tradition of communal eats during festive occasions. Sharing food during Halloween not only brings people together but also taps into the spirit of creativity that characterizes the holiday. The concept of charcuterie boards has taken off in recent years, evolving to suit various themes and celebrations. As Halloween encourages fun and creativity, this board allows for a unique, interactive experience that reflects both the playful nature of the holiday and the joy of gathering with loved ones to celebrate seasonal flavors.
Frequently Asked Questions
What can I use instead of cream cheese?
You can use Greek yogurt or vegan cream cheese alternatives if you’re looking for a dairy-free option.
How long can I store leftovers?
Leftovers can be stored in the refrigerator for up to 3 days, while the breadsticks can be frozen for longer-term storage.
Can I prepare the board ahead of time?
Yes, you can prepare the components a day in advance, but assemble the board just before serving for the best presentation.
Is it possible to make this gluten-free?
Absolutely! Use gluten-free breadsticks or even substitute with veggies like cucumber or bell peppers as a base.
How spicy is the bloody dip?
The dip itself is not spicy unless you add hot sauce or spices. It’s meant to be creamy and delicious!
Final Thoughts
The Haunted Halloween Party Snack Board is an effortless way to add a festive touch to your gathering while being incredibly easy to assemble. This snack board brings not only tasty flavors but also a sense of fun and connection, inviting friends and family to explore and enjoy. Make this spooky spread part of your Halloween celebrations, and create lasting memories together. Enjoy every bite and every spooky moment!
PrintHaunted Halloween Party Snack Board
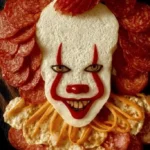
A delightful and spooky way to celebrate Halloween with a fun snack board featuring skeleton breadsticks and playful dips.
- Prep Time: 10 minutes
- Cook Time: 12 minutes
- Total Time: 22 minutes
- Yield: 6-8 servings
- Category: Appetizer
- Method: Baking
- Cuisine: American
- Diet: Vegetarian
Ingredients
- 1 package Breadsticks
- 2 tablespoons Olive Oil
- 1 teaspoon Garlic Powder
- 1 cup Marinara Sauce (for dipping)
- 8 ounces Cream Cheese
- Red Food Coloring
- Gummy Spiders (for decoration)
- Assorted Vegetables (carrots, celery)
- Shredded Cheese (optional)
Instructions
- Preheat the oven to 375°F (190°C).
- Prepare the breadsticks by brushing with olive oil and sprinkling with garlic powder.
- Place the breadsticks on a baking sheet and bake for 10-12 minutes until golden and crispy.
- Mix cream cheese with red food coloring in a bowl until achieving a striking red color.
- Arrange the baked breadsticks on a serving board alongside marinara sauce and the bloody dip.
- Scatter gummy spiders and vegetables around the dips for decoration.
Notes
Check the breadsticks a minute or two before the suggested time to avoid over-baking. Customize with various decorations and dips.