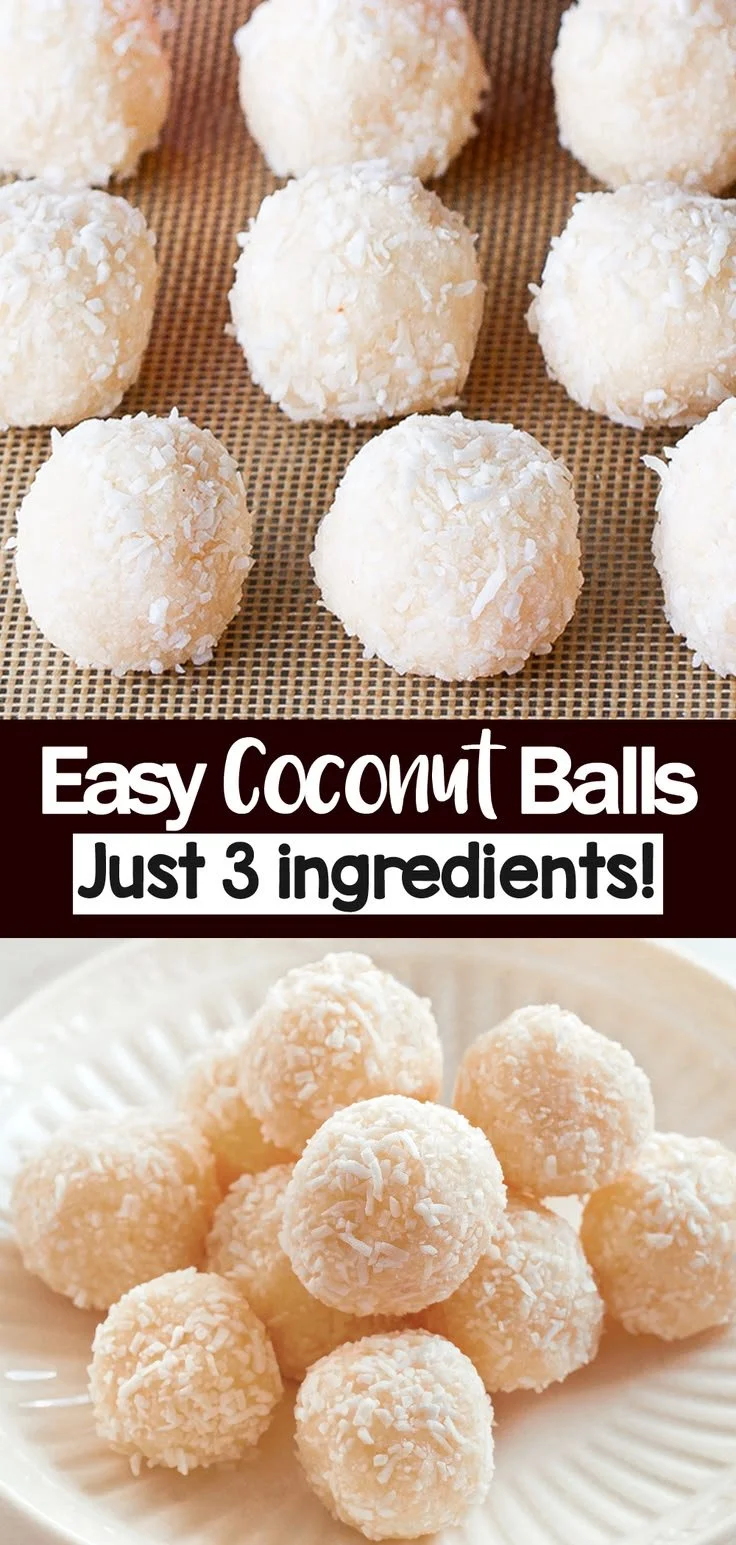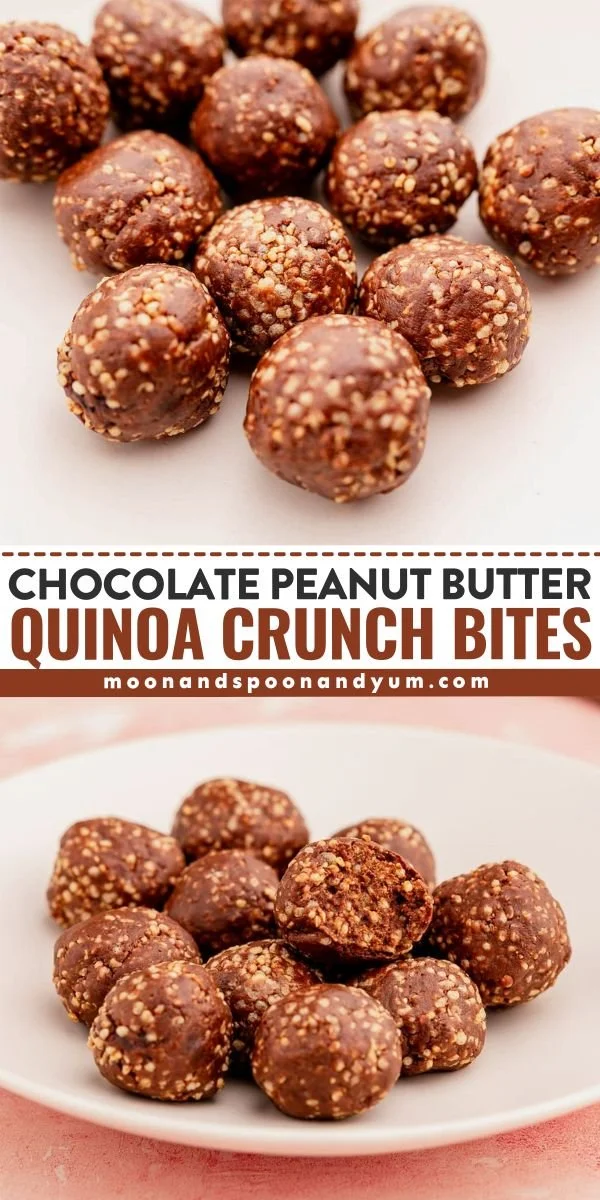
Making No-Bake Peanut Butter Oatmeal Energy Balls is an excellent choice for anyone seeking a simple, nutritious snack that’s perfect for busy lifestyles. Packed with wholesome ingredients, these delightful bites are not only easy to prepare but also satisfy your sweet tooth without the guilt. In just a few minutes, you can create an energy-boosting treat that your whole family will love.
Why You’ll Love No-Bake Peanut Butter Oatmeal Energy Balls
- Quick and Easy: This recipe takes only about 15 minutes to prepare, making it a perfect option for those hectic days when you’re short on time.
- Nutritious Snack: With ingredients like peanut butter and oats, you’ll enjoy healthy fats and fiber, giving you sustained energy.
- Customizable Ingredients: You can easily swap ingredients based on your preferences, whether you want to add chocolate chips or dried fruit.
- Kid-Friendly: These energy balls are a hit with children, providing a guilt-free treat that you can feel good about!
- Great for Meal Prep: Make a batch to have ready for snacks, lunch boxes, or even a quick breakfast on the go.
Recipe Overview
- Prep Time: 15 minutes
- Cook Time: 0 minutes
- Total Time: 30 minutes (includes chilling time)
- Servings: Makes about 12-15 energy balls
- Difficulty Level: Easy
Ingredients You’ll Need for No-Bake Peanut Butter Oatmeal Energy Balls
-
Base Ingredients:
- 1 cup peanut butter (natural or regular, depending on your taste)
- 1/2 cup honey (or maple syrup for a vegan option)
- 2 cups rolled oats (old-fashioned oats work best for texture)
-
Optional Add-Ins:
- 1/2 cup chocolate chips or dried fruit (raisins, cranberries, or chopped apricots)
- 1/4 cup chia seeds (for an extra boost of fiber and omega-3s)

How to Make No-Bake Peanut Butter Oatmeal Energy Balls
Step 1: Mix Peanut Butter and Honey
In a large bowl, combine the peanut butter and honey until you achieve a smooth mixture. This will serve as the base for your energy balls.
Step 2: Incorporate the Oats
Stir in the rolled oats until everything is evenly mixed. You should have a thick, cohesive dough that holds together well.
Step 3: Add Optional Ingredients
If you’re using chocolate chips, dried fruit, or chia seeds, fold them into the mixture now. These add-ins enhance both flavor and texture.
Step 4: Form the Balls
Using your hands, roll the mixture into small balls, roughly one inch in diameter. This step can get a bit sticky, so wet your hands slightly if needed.
Step 5: Chill to Set
Place the energy balls on a parchment-lined baking sheet and refrigerate for about 30 minutes. This helps them firm up and makes them easier to handle.
Tips for Success
- Use Natural Peanut Butter: If you choose natural peanut butter, stir it well before measuring to mix the oil content evenly.
- Stickiness Control: If the mixture is too sticky, add a little more oats until you reach your desired consistency.
- Chill Time: Don’t skip the chilling step; it makes a big difference in maintaining the shape of the energy balls.
- Proper Storage: Store any leftovers in an airtight container to keep them fresh and prevent them from drying out.
Easy Variations
- Nut Butter Swap: Use almond or cashew butter for a different flavor profile.
- Spiced Up Version: Add a teaspoon of cinnamon or a pinch of salt for an extra flavor kick.
- Protein Power: Mix in a scoop of your favorite protein powder to boost nutrition.
- Vegan-friendly: Replace honey with maple syrup and use dairy-free chocolate chips.
What to Serve with No-Bake Peanut Butter Oatmeal Energy Balls
- Fruit: Pair these energy balls with fresh fruits like banana slices or apple wedges for a refreshing balance.
- Yogurt: Serve alongside a dollop of yogurt for extra creaminess and protein.
- Smoothies: Enjoy as a snack with a nutrient-packed smoothie for a wholesome breakfast or post-workout refuel.
- Trail Mix: Combine with your favorite nuts and seeds for a satisfying trail mix.
Storage and Reheating
- Refrigerator Storage: Keep energy balls in an airtight container in the fridge for up to a week.
- Freezer Storage: For longer storage, freeze them in a single layer on a baking sheet, then transfer them to a container or Ziplock bag. They’ll keep well for up to three months.
- Reheating: These energy balls are best enjoyed cold. However, if you prefer them soft, let them sit at room temperature for a few minutes before enjoying.
- Meal Prep Note: These make a great grab-and-go snack for busy weeks—they’re easy to make in advance and have ready when you need them.
Common Mistakes to Avoid
- Not Chilling Long Enough: If you don’t chill the balls adequately, they may fall apart when you try to eat them.
- Overmixing: Stir gently to combine ingredients; overmixing can make them tough.
- Skipping Optional Ingredients: Adding optional ingredients can elevate flavor and texture, so don’t hesitate to experiment!
No-Bake Peanut Butter Oatmeal Energy Balls: Background & Cultural Inspiration
No-bake energy balls draw inspiration from various cultures that value wholesome, convenient snacks. The combination of oats and nut butters is prevalent in many regions, emphasizing resourcefulness. These snacks highlight the balance between nutrition and flavor, making them a perfect representation of quick and healthy eating in our busy lives.
Frequently Asked Questions
Can I make these gluten-free?
Yes! Just ensure you use certified gluten-free oats for those with gluten sensitivities.
Can I skip the honey?
Absolutely! You can substitute honey with maple syrup or agave for a vegan option, or experiment with other sweeteners.
How long do they last in the refrigerator?
They can be stored in the fridge for up to one week without losing their flavor or texture.
Can I add protein powder?
Definitely! Adding protein powder can give them an additional boost, just adjust the other ingredients slightly to maintain consistency.
Are these energy balls safe for kids?
Yes, as long as there are no allergies to the ingredients, they make a great, healthy snack for kids!
Final Thoughts
No-Bake Peanut Butter Oatmeal Energy Balls are a fantastic way to enjoy a healthy snack that requires minimal effort yet delivers on flavor and nutrition. Perfect for any time of day, whether you’re juggling a busy schedule or looking for a healthy treat. Give this easy recipe a try and see how quickly these delightful bites become a staple in your home!