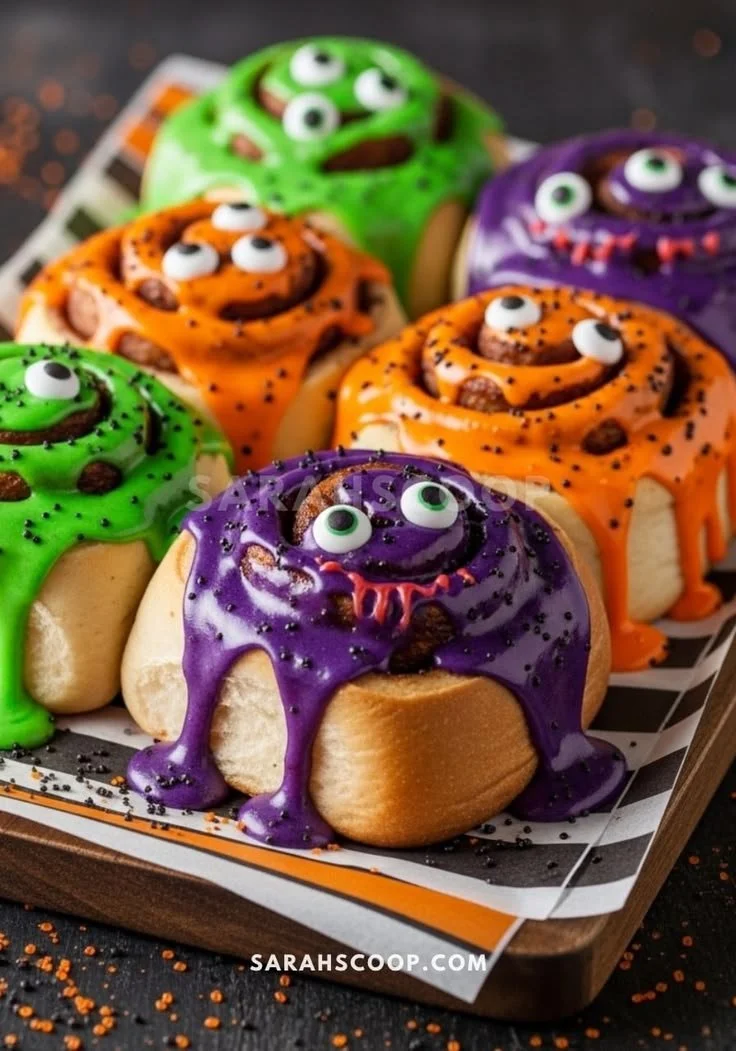
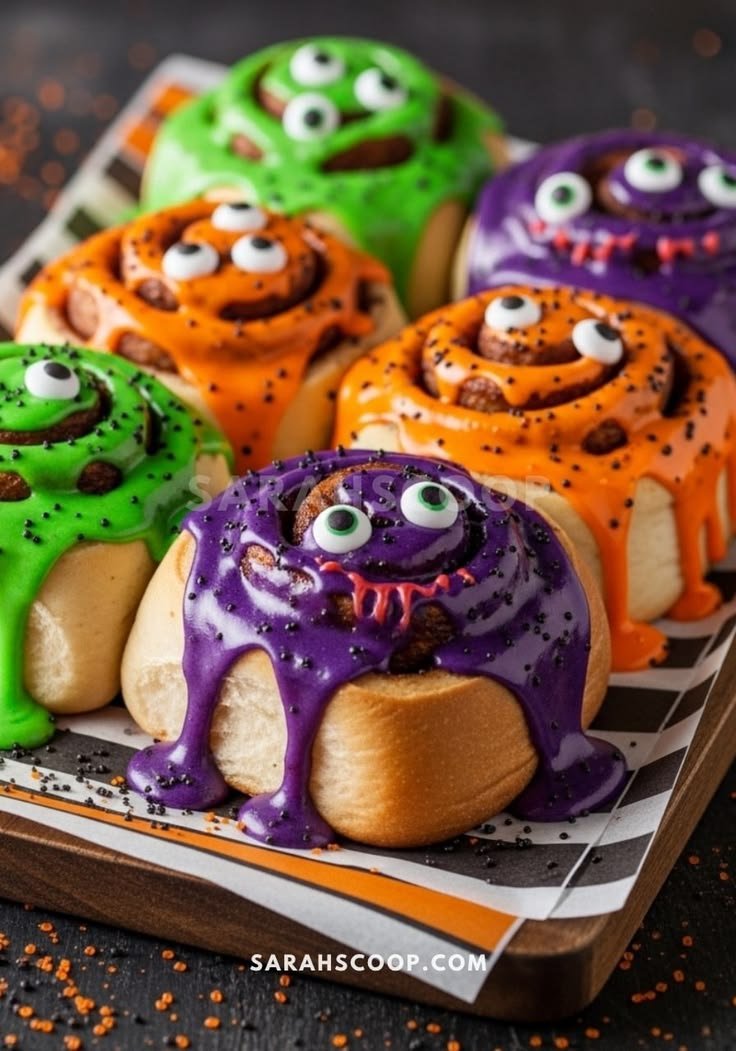
Mini Mummies and Spooky Snacks are a fun and creative way to celebrate Halloween while keeping the cooking process simple and enjoyable. This recipe is perfect for families, gatherings, or any festive occasion where you want to add a playful twist to your food presentation. Kids and adults alike will love these spooky treats that are not just easy to make but also delightful to eat!
Why You’ll Love Mini Mummies and Spooky Snacks
- Easy to Make: With just a few ingredients and minimal cooking skill required, these snacks are perfect for beginners.
- Fun Presentation: The spooky shapes and playful themes make these snacks a hit at Halloween parties and gatherings.
- Customizable: You can easily personalize your snacks with different fillings and decorations to suit your party theme or kid’s preferences.
- Family-Friendly: Great for cooking with kids, this recipe promotes family bonding in the kitchen as you create fun, edible art together.
- Versatile Serve Options: These snacks can be served as appetizers, snacks, or a part of a larger meal, making them flexible for any setting.
Recipe Overview
- Prep Time: 20 minutes
- Cook Time: 12-15 minutes
- Total Time: 35 minutes
- Servings: 6-8
- Difficulty Level: Easy
Ingredients You’ll Need for Mini Mummies and Spooky Snacks
- Mini Hot Dogs: These serve as the base for the mummies. You can substitute with veggie dogs for a vegetarian version.
- Biscuits: Use refrigerated biscuit dough, which will wrap around the hot dogs. Biscuit alternatives include crescent roll dough or puff pastry.
- Cream Cheese: This will act as the glue for the olives. For a lighter option, you can use Greek yogurt.
- Olives: Choose black or green olives to create the eyes for your mummies.
- Pumpkin-Shaped Cookie Cutters: These can be used to cut shapes out of fruits and veggies for added decoration.
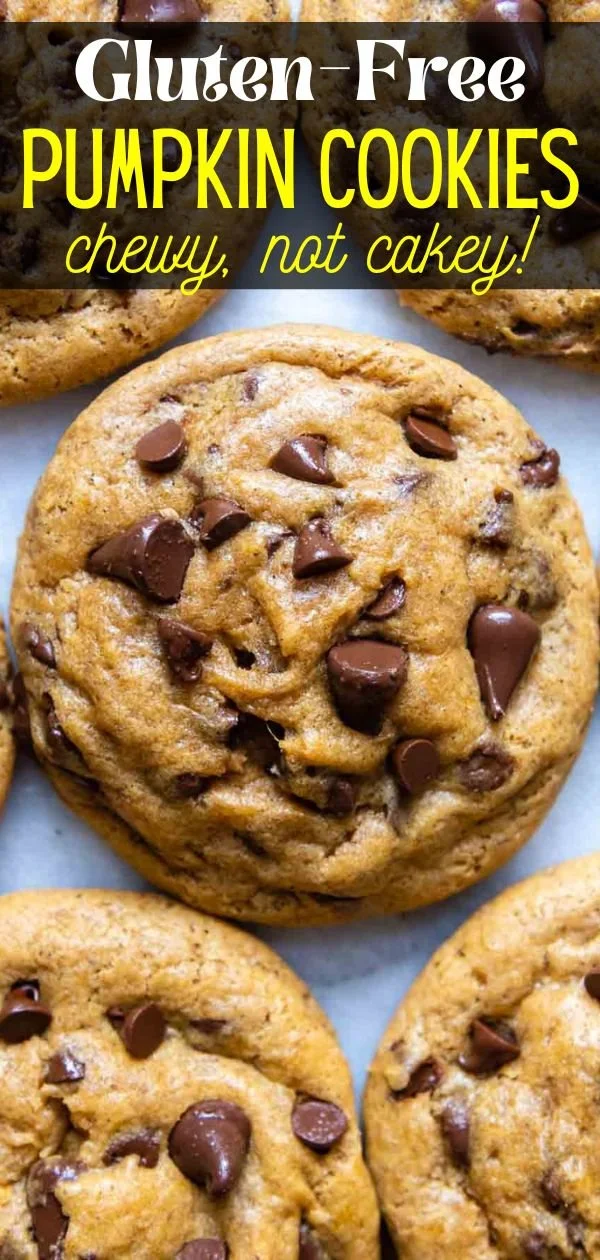
- Chocolate: Melted chocolate can be used for decorating cookies and providing a sweet contrast to savory flavors.
- Candy Eyes: These add spooky fun to your treats and can be found at most grocery or craft stores.
- Colored Frosting: Use this to enhance the appearance of your spooky snacks, or even pipe designs onto treats.
- Fruit: Apples, oranges, and grapes work well for a healthy touch.
- Veggies: Carrot sticks, cucumber slices, and bell pepper strips make great platters alongside the mummies.
How to Make Mini Mummies and Spooky Snacks
-
Prepare the Mummies: Preheat your oven according to the biscuit dough instructions. Roll out the biscuit dough and cut it into strips. Wrap the strips around mini hot dogs to create mummy shapes. Overlap the strips slightly for a more authentic look.
-
Bake to Perfection: Place the wrapped mini hot dogs on a baking sheet lined with parchment paper. Bake in the oven for 12-15 minutes or until the biscuits are golden brown. Keep an eye on them to prevent burning.
-
Create the Eyes: Once the mummies have cooled slightly, use cream cheese to attach two olives on each mummy to represent the eyes. For a more playful look, you can substitute with candy eyes.
-
Assemble Fun Platters: Use pumpkin-shaped cookie cutters to cut shapes out of fruits and veggies. Arrange these spooky shapes on a platter to pair with your mummies.
-
Decorate Cookies: Melt chocolate and drizzle it on cookies. Use colored frosting to draw spooky faces or designs on top of the cookies. Let the decorations set before serving.
Tips for Success
- Monitor Doneness: Keep an eye on the mini mummies while baking to achieve a golden color without burning.
- Customize Sizes: Adjust the size of biscuit strips for different mummy sizes; for tiny snacks, you can cut them smaller.
- Chill the Dough: If the biscuit dough gets too warm while you are wrapping the hot dogs, refrigerate it briefly to make it easier to handle.
- Experiment with Colors: Use various food coloring in your frosting to make your spooky snacks even more festive.
- Keep it Fun: Allow kids to help with the assembly and decoration, which makes the cooking process enjoyable and engaging.
Easy Variations
- Spicy Mummies: Use spicy sausages or add a touch of hot sauce to the cream cheese for an extra kick.
- Cheesy Filling: Add shredded cheese to the center of each hot dog before wrapping them for a cheesy surprise.
- Vegetarian Option: Replace mini hot dogs with grilled tempeh or marinated tofu for a meat-free snack.
- Sweet Treats: Instead of savory snacks, make mini mummies from fruit, like bananas, wrapped with strips of fruit leather and decorated with chocolate or candy eyes.
- Different Shapes: Use different cookie cutter shapes (like bats or ghosts) for your fruits and veggies to create a mix of spooky fun!
What to Serve with Mini Mummies and Spooky Snacks
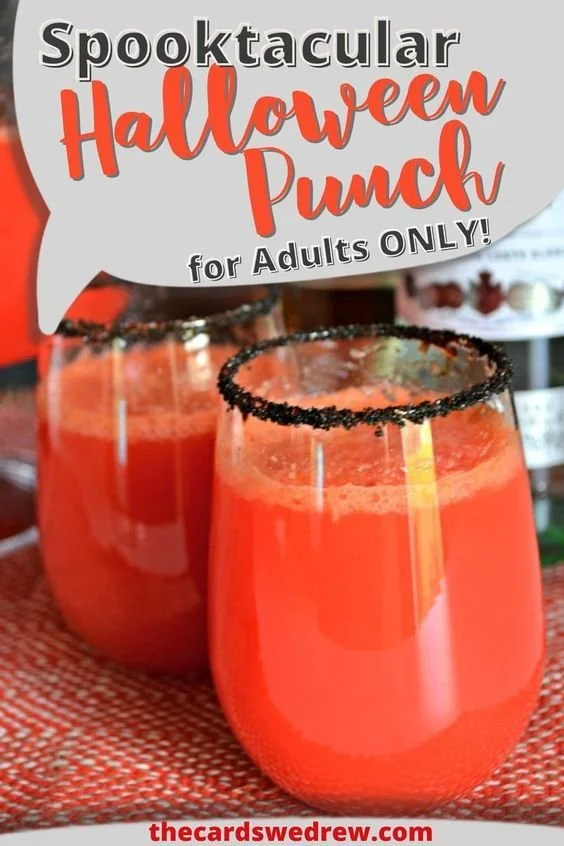
- Witch’s Brew Punch: A refreshing drink with green soda and gummy worms that fits perfectly with the Halloween theme.
- Pumpkin Soup: A warm, comforting bowl of pumpkin soup complements the savory snacks nicely.
- Deviled Eyeballs: Prepare deviled eggs decorated with olives or peppercorns to enhance the spooky atmosphere.
- Spooky Cheese Platter: Add a selection of cheeses and crackers for a more sophisticated snack option that pairs well with the mini mummies.
Storage and Reheating
- Refrigerator Storage: Store leftover mini mummies in an airtight container in the fridge for up to 3 days.
- Freezer Storage: You can freeze unbaked mummies, wrap them well, and bake them directly from the freezer when you’re ready to enjoy them.
- Best Reheating Method: To reheat, place the mummies in the oven for a few minutes at 350°F to restore crispiness rather than microwaving them, which can make them soggy.
- Meal Prep Note: Prepare the mini mummies ahead of time, and bake them right before serving for hot, fresh snacks.
Common Mistakes to Avoid
- Over-wrapping: Don’t use too much biscuit dough; this can result in a dense texture rather than a light and flaky one.
- Skipping Cooling Time: Let the mummies cool for a few minutes before adding the cream cheese and olives to prevent melting.
- Not Prepping Ingredients: Ensure that all components are ready before starting assembly to streamline the process and keep things organized.
- Baking Time Errors: Adjust baking times based on oven variations. Always check for golden brown color as a sign of doneness.
Mini Mummies and Spooky Snacks: Background & Cultural Inspiration
Mini Mummies and Spooky Snacks draw inspiration from the playful spirit of Halloween. Halloween has roots in ancient Celtic festivals where people celebrated the harvest and warded off spirits. The modern custom of dressing up and consuming treats has evolved into a fun, family-oriented celebration. Creating themed foods adds a layer of excitement and creativity to festivities, making it a memorable experience for both kids and adults alike.
Frequently Asked Questions
Can I make these mini mummies a day in advance?
Yes, you can prepare the mummies on the previous day and keep them refrigerated until you are ready to bake.
What can I substitute for cream cheese?
Greek yogurt is a great alternative if you’re looking for a lighter option, or you can use a dairy-free cream cheese for a vegan version.
How long can I store the baked mini mummies?
Baked mini mummies can be stored in the refrigerator for up to 3 days.
Can I freeze the snacks?
Yes! You can freeze the unbaked mummies. Just make sure to wrap them tightly before placing them in the freezer.
What can I serve instead of mini hot dogs?
You can use grilled tempeh or marinated tofu as a vegetarian substitute, or even chicken or turkey sausage for a different flavor.
Final Thoughts
Mini Mummies and Spooky Snacks are a fantastic way to bring fun and creativity into your Halloween celebrations. They are easy to make, delightful to present, and sure to be a hit with friends and family alike. Whether you’re enhancing a party platter or simply looking for a fun cooking project to do with kids, this recipe provides a sweet and savory treat that embodies the spirit of the season. Give it a try, and enjoy the joy of creating together!
PrintMini Mummies and Spooky Snacks

Fun and playful Halloween treats that are easy to make and perfect for gatherings.
- Prep Time: 20 minutes
- Cook Time: 15 minutes
- Total Time: 35 minutes
- Yield: 6-8 servings
- Category: Appetizers
- Method: Baking
- Cuisine: American
- Diet: Vegetarian
Ingredients
- 12 Mini Hot Dogs (or veggie dogs)
- 1 can Refrigerated Biscuit Dough
- 4 oz Cream Cheese (or Greek yogurt)
- 12 Olives (black or green)
- Pumpkin-shaped cookie cutters
- 1 cup Melted Chocolate
- Candy Eyes
- Colored Frosting
- Fruits (apples, oranges, grapes)
- Veggies (carrot sticks, cucumber slices, bell pepper strips)
Instructions
- Prepare the Mummies: Preheat your oven according to the biscuit dough instructions. Roll out the biscuit dough and cut it into strips. Wrap the strips around mini hot dogs to create mummy shapes.
- Bake to Perfection: Place the wrapped mini hot dogs on a baking sheet lined with parchment paper. Bake for 12-15 minutes until the biscuits are golden brown.
- Create the Eyes: Use cream cheese to attach two olives on each mummy to represent the eyes, or use candy eyes for a playful look.
- Assemble Fun Platters: Use pumpkin-shaped cookie cutters to cut shapes out of fruits and veggies. Arrange these spooky shapes on a platter.
- Decorate Cookies: Melt chocolate and drizzle it on cookies, using colored frosting to draw spooky faces. Let it set before serving.
Notes
Customize sizes of biscuit strips for different mummy sizes; kids can participate in assembly for more fun.