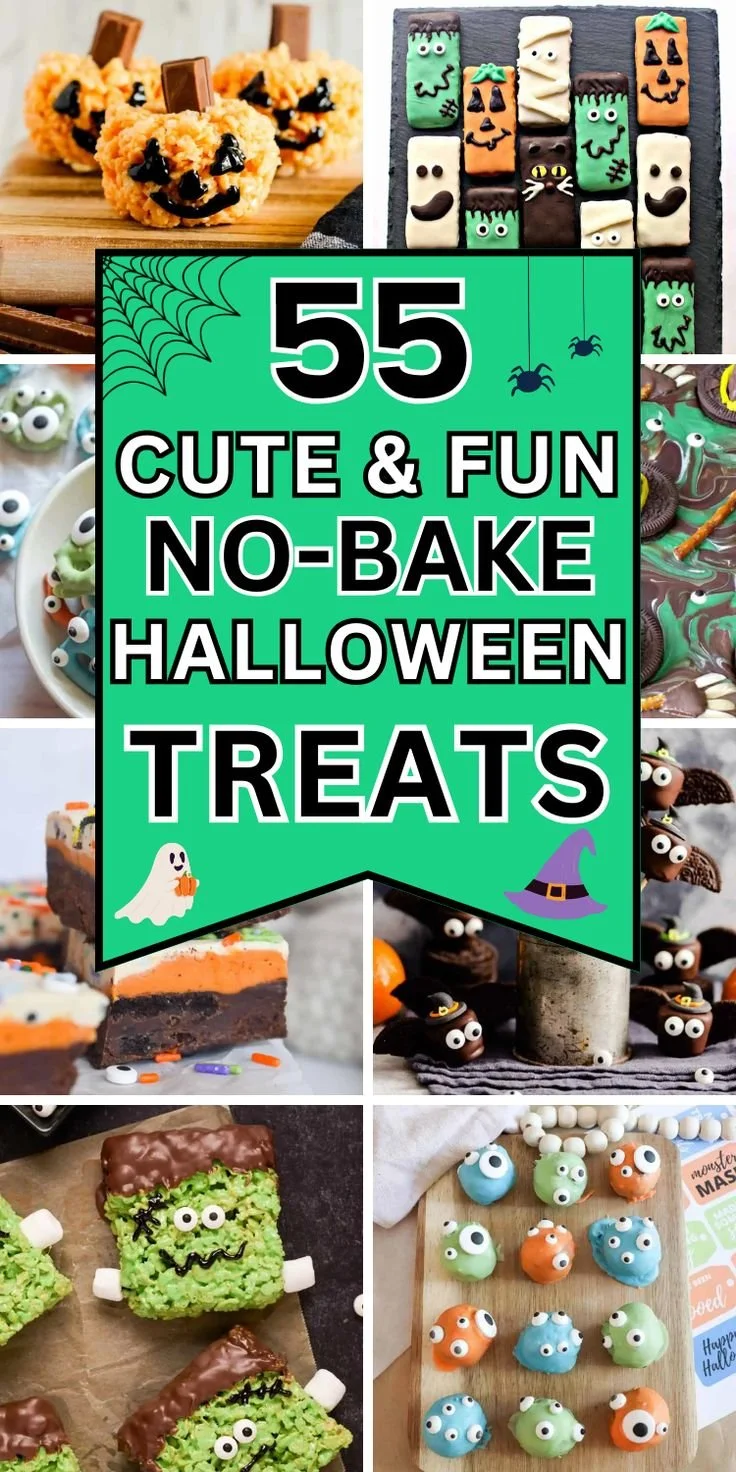
Halloween is the perfect time for some spooky fun in the kitchen, and these Quick No-Bake Halloween Desserts are a delightful way to celebrate. Easy to prepare and delicious to enjoy, they make for a fantastic treat for parties, school events, or just a cozy night in. With minimal effort, you can create charming, festive goodies that will impress kids and adults alike.
Why You’ll Love Quick No-Bake Halloween Desserts
- Simple and Fast to Make: No baking means you can whip these up quickly, perfect for last-minute plans or unexpected guests.
- Customizable Themes: From spooky shapes to playful colors, you can tailor these desserts to fit your Halloween theme or personal taste.
- No Oven Required: These treats are ideal for warm fall days when you want to avoid heating up the kitchen.
- Kid-Friendly Fun: Involve the little ones in the preparation process—they’ll love helping to decorate and create their own unique treats.
- Perfect for Parties: These no-bake desserts are portable and easy to serve, making them a great addition to any Halloween gathering or potluck.
Recipe Overview
- Prep Time: 30 minutes
- Chill Time: 1 hour
- Total Time: 1 hour 30 minutes
- Servings: 12 servings
- Difficulty Level: Easy
Ingredients You’ll Need for Quick No-Bake Halloween Desserts
To create these festive treats, you’ll need the following ingredients:
- Rice Krispies: For the base of the desserts, providing a delightful crunch.
- Marshmallows: These are essential for binding the ingredients together, adding sweetness.
- Butter: Helps to melt the marshmallows and crispies into a cohesive mixture.
- Chocolate Chips: For decoration and a touch of indulgence; you can choose dark, milk, or white chocolate.
- Candy Eyes: Fun embellishments that bring a spooky character to your treats.
- Sprinkles: Optional, but they add a colorful, festive touch.
- Food Coloring (optional): Use this to color your treats in vibrant Halloween hues.
- Pumpkin-Shaped Cookie Cutters: These will help shape the treats into fun Halloween figures.
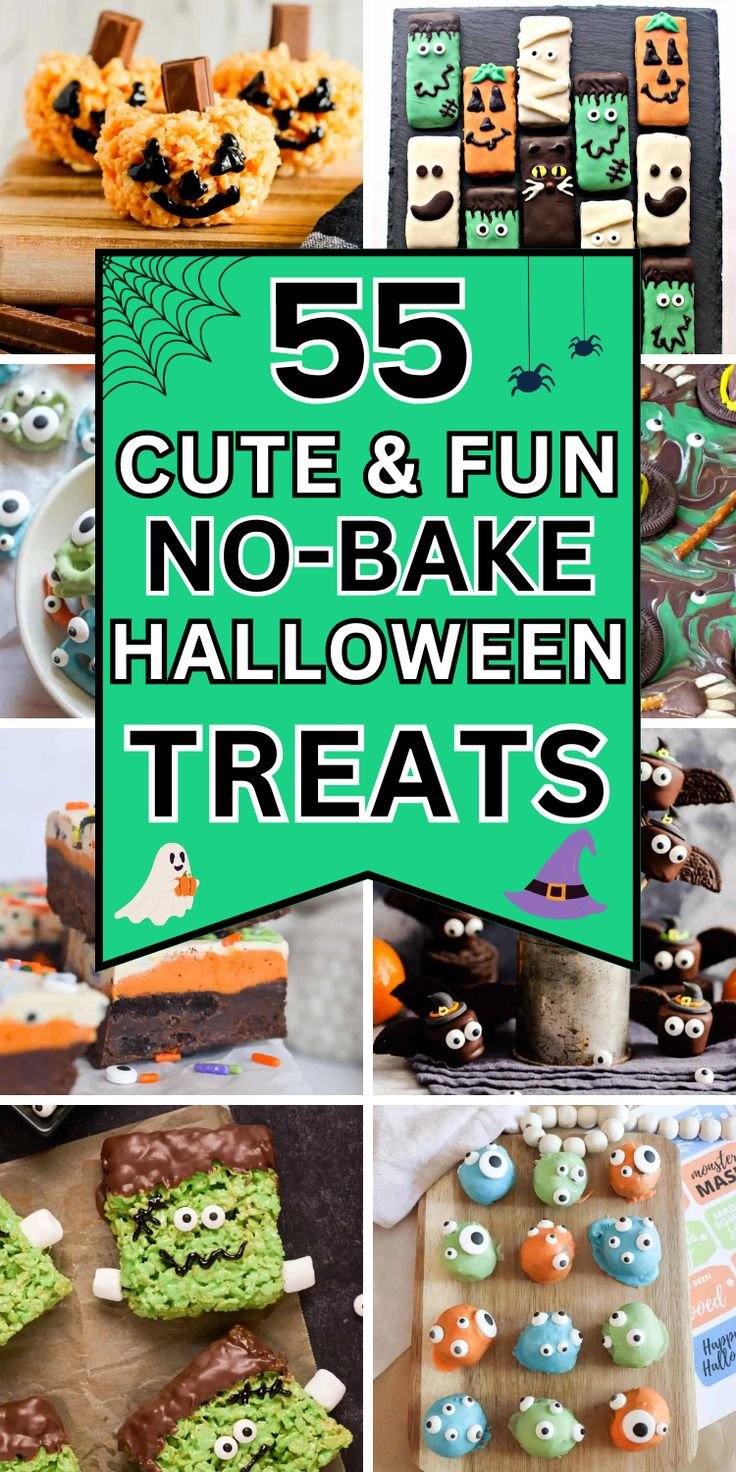
How to Make Quick No-Bake Halloween Desserts
- Melt the Butter: In a large pot, melt the butter over low heat, making sure it doesn’t brown.
- Add Marshmallows: Once the butter is melted, mix in the marshmallows, stirring until they are completely melted and smooth.
- Combine with Rice Krispies: Remove the pot from heat and fold in the Rice Krispies until they are well coated with the marshmallow mixture.
- Add Food Coloring (Optional): If using, divide the mixture into bowls and add food coloring to achieve your desired colors. Mix well.
- Press into a Pan: Spoon the mixture into a greased 9×13-inch pan, pressing down firmly with a spatula to ensure even layers.
- Cool the Mixture: Allow the mixture to cool at room temperature for about an hour until it sets.
- Cut into Shapes: Once cooled, use pumpkin-shaped cookie cutters to cut out fun Halloween shapes.
- Decorate: Top the cut shapes with chocolate chips for eyes, candy eyes, and sprinkles to give them a festive finishing touch.
Tips for Success
- Keep Low Heat: Melting the marshmallows on low heat prevents them from burning and ensures a smooth mixture.
- Press Firmly: When packing the mixture into the pan, press it down firmly to avoid crumbly treats.
- Cooled Before Cutting: Make sure the rice crispy treats are fully cooled before cutting; this will help maintain their shape.
- Use Parchment Paper: Lining the pan with parchment paper can make it easier to lift the whole batch out once set.
- Experiment with Flavors: Consider adding vanilla extract or other flavorings to the melted marshmallow for a twist.
Easy Variations
- Chocolate-Dipped Treats: For a richer flavor, dip the finished shapes in melted chocolate and then decorate with sprinkles or candy.
- Halloween-Themed Colors: Use orange and black food coloring to make your treats match Halloween themes.
- Nutty Twist: Incorporate chopped nuts or nut butter into the Rice Krispie mixture for added texture.
- Fruity Twist: Mix in dried fruits or mini marshmallows for a chewy texture alongside the crunch.
- S’mores Style: Swap out some Rice Krispies for graham cracker crumbs and top with mini marshmallows.
What to Serve with Quick No-Bake Halloween Desserts
- Apple Slices with Caramel Dip: A classic snack that pairs well and balances the sweetness of the desserts.
- Ghostly Popcorn Balls: These offer a different texture and a fun popcorn treat to complement the crispies.
- Pumpkin Muffins: A seasonal favorite that matches the theme and provides a satisfying option for guests.
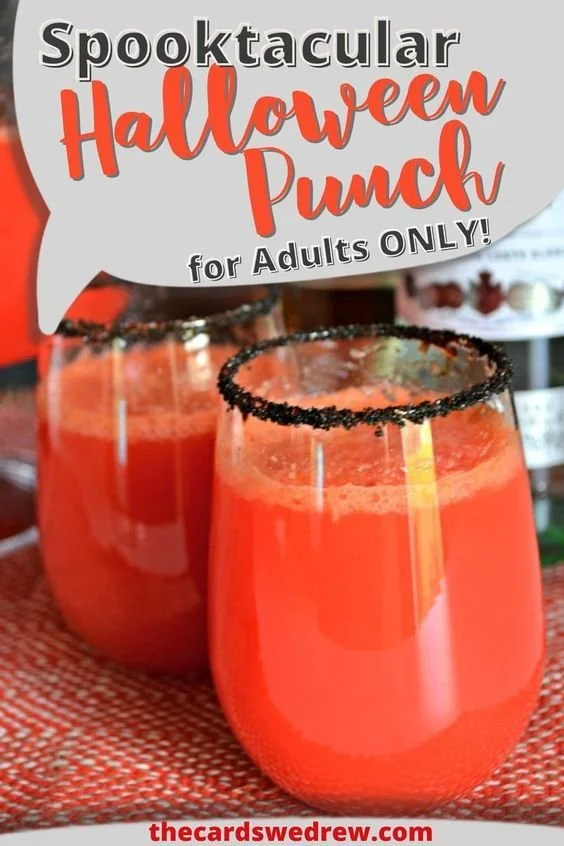
- Halloween Punch: Serve a spooky punch with gummy worms or eyeballs floating, it enhances the festive atmosphere.
- Veggie Tray: Keep it balanced with healthy snacks; veggies add a crunch that contrasts nicely with sweet treats.
Storage and Reheating
- Refrigerator Storage: Keep the no-bake treats in an airtight container at room temperature for up to a week.
- Freezer Storage: You can freeze these treats for up to a month. To thaw, let them sit at room temperature for about 30 minutes before serving.
- Preserve Texture: Be careful not to stack them while storing to prevent them from getting squished.
- Meal Prep Note: These are great for pre-preparing for parties or school events—just store and serve when needed.
Common Mistakes to Avoid
- Overheating the Marshmallows: This can create a burnt flavor and affect the texture of the treats, so always melt them slowly.
- Not Packing Down the Mixture: Failing to press the mixture firmly into the pan can result in crumbly treats that won’t hold their shape.
- Cutting Too Soon: Not allowing the mixture to cool properly before cutting can lead to uneven shapes and sticky messes.
- Ignoring Personal Preferences: Customize with your favorite mix-ins or toppings to make the treats uniquely yours.
- Using Stale Ingredients: Make sure your Rice Krispies and marshmallows are fresh for the best texture and flavor.
Quick No-Bake Halloween Desserts: Background & Cultural Inspiration
No-bake treats have a special place during Halloween, combining creativity and ease with a dash of fun. These types of sweets arose from the need for quick and hassle-free dessert options when celebrations and festivities are in full swing. Additionally, rice crispy treats have been a cherished American classic since the mid-20th century. Their simple ingredients spark creativity, inviting people of all ages to partake in crafting delightful concoctions, especially during the whimsical Halloween season.
Frequently Asked Questions
Can I use different cereals instead of Rice Krispies?
Yes, you can substitute with other crispy cereals, but texture and flavor may vary. Consider options like Cornflakes or even Fruity Pebbles for a fruity twist.
How long do these treats last?
These treats can last up to a week at room temperature, stored in an airtight container. For longer storage, consider freezing them.
Can I make these treats ahead of time?
Absolutely! These no-bake desserts are perfect for making ahead of time, allowing you to enjoy your celebration without last-minute prep.
Can I make these treats vegan?
For vegan treats, use dairy-free butter and ensure the marshmallows are gelatin-free, which many brands offer.
How do I fix crumbling treats?
If your treats crumble, it’s likely they weren’t pressed enough into the pan. You can try pressing them together with your hands after cutting them out.
Final Thoughts
Quick No-Bake Halloween Desserts are a simple yet festive way to celebrate the spooky season. With their delightful crunch and fun designs, they are sure to please both kids and adults. So grab your ingredients, get creative, and enjoy these easy treats that will make your Halloween celebrations unforgettable!
PrintQuick No-Bake Halloween Desserts

Simple and festive no-bake desserts perfect for Halloween, easy to prepare and enjoyable for all ages.
- Prep Time: 30 minutes
- Cook Time: 0 minutes
- Total Time: 90 minutes
- Yield: 12 servings
- Category: Dessert
- Method: No-Bake
- Cuisine: American
- Diet: Vegetarian
Ingredients
- 5 cups Rice Krispies
- 4 cups Marshmallows
- 4 tablespoons Butter
- 1 cup Chocolate Chips
- ½ cup Candy Eyes
- ½ cup Sprinkles (optional)
- Food Coloring (optional)
- Pumpkin-Shaped Cookie Cutters
Instructions
- Melt the butter in a large pot over low heat, ensuring it doesn’t brown.
- Add marshmallows and stir until completely melted and smooth.
- Combine with Rice Krispies, folding until well coated.
- Add food coloring if using, mixing well.
- Press the mixture into a greased 9×13-inch pan using a spatula.
- Cool at room temperature for about 60 minutes until set.
- Cut into shapes using pumpkin-shaped cookie cutters.
- Decorate with chocolate chips, candy eyes, and sprinkles.
Notes
Keep heat low when melting marshmallows to prevent burning. Use parchment paper for easy removal.