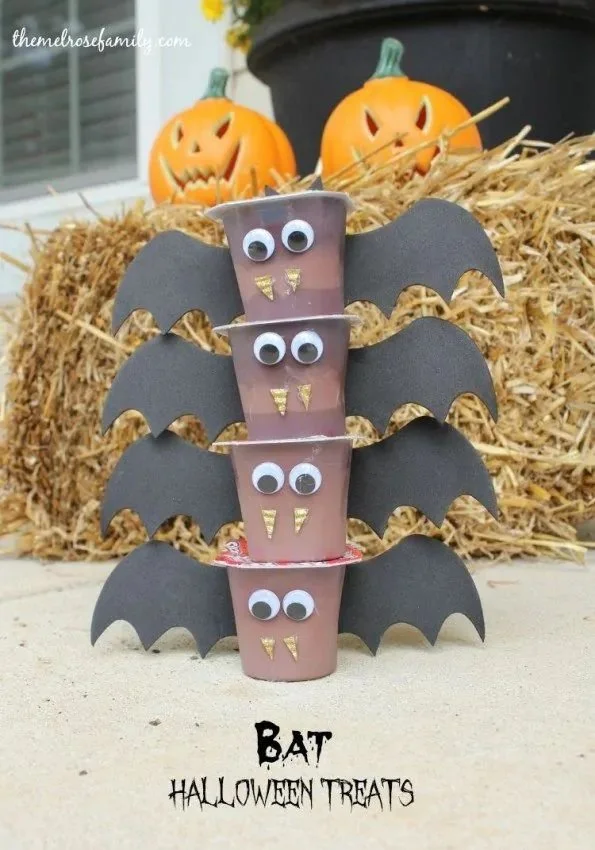
This Bat Halloween Treats recipe is a delightful and spooky way to celebrate the Halloween season. With just a few simple ingredients, you can whip up these fun and tasty treats that are perfect for parties, school events, or a festive movie night. Not only are they visually appealing, but they also offer a delicious twist on classic snacks, making them a must-try!
Why You’ll Love Bat Halloween Treats
- Fun and Festive: These treats are perfect for Halloween parties and gatherings, bringing a fun and playful spirit to your celebrations.
- Easy to Make: With simple ingredients and straightforward steps, even beginner cooks can impress their friends and family with these charming snacks.
- Customizable Designs: You can easily modify the bat design, making it a fun activity for kids and a great way to unleash creativity.
- Delicious Flavor: Enjoy the combination of flavors, whether you choose chocolate, peanut butter, or a sweet candy coating. Everyone will love these delightful snacks!
- Perfect for Sharing: These treats make wonderful party favors or sweets to share with classmates, adding to the Halloween cheer.
Recipe Overview
- Prep Time: 20 minutes
- Cook Time: 0 minutes (cool time included)
- Total Time: 20 minutes plus cooling time
- Servings: About 12 bats
- Difficulty Level: Easy
Ingredients You’ll Need for Bat Halloween Treats
-
For the Bat Base:
- 1 cup of chocolate sandwich cookies (crushed)
- 1/2 cup of cream cheese (softened)
- 1 cup of dark chocolate (melted)
-
For Decoration:
- 1/4 cup of candy eyes
- 1/2 cup of chocolate chips or other meltable candy (white or colored)
-
Optional:
- Sprinkles for extra decoration
- Edible glitter for a festive touch

How to Make Bat Halloween Treats
-
Prepare the Cookie Mixture
In a mixing bowl, combine the crushed chocolate sandwich cookies and softened cream cheese. Mix until well combined and the texture is smooth. -
Shape the Bats
Using your hands, form the mixture into bat shapes. You can create a simple bat outline or make them more cartoonish. Aim for about 2-3 inches in width. -
Chill the Bats
Place the bat shapes on a parchment-lined baking sheet. Refrigerate for about 30 minutes or until firm. -
Melt the Chocolate
While the bats are cooling, melt the dark chocolate in a microwave-safe bowl, heating in 30-second intervals and stirring until smooth. -
Coat the Bats
Once the bats have cooled and set, dip each one into the melted chocolate, ensuring they are fully coated. Carefully lift them out using a fork or your fingers and allow the excess chocolate to drip off. -
Decorate with Eyes and Sprinkles
Before the chocolate sets, place two candy eyes on each bat. If desired, sprinkle with edible glitter or additional decorations for added flair. -
Let the Chocolate Set
Allow the chocolate to harden at room temperature or in the refrigerator until fully set.
Tips for Success
- Use Softened Cream Cheese: This makes it easier to mix and ensures a smooth texture in the batter.
- Don’t Overheat Chocolate: When melting chocolate, be careful not to overheat it, as this can cause it to seize. Stir frequently for a smooth consistency.
- Chill Thoroughly: Ensure the bats are well-chilled before coating in chocolate to help them maintain their shape.
- Experiment with Shapes: Feel free to make other spooky shapes like ghosts or pumpkins using the same base recipe!
- Use Quality Chocolate: For the best flavor, opt for high-quality chocolate, especially if you’re going to use it as a coating.
Easy Variations
- Peanut Butter Chocolate Bats: Substitute the cream cheese with creamy peanut butter for a nutty flavor twist.
- Fruit Flavored Coating: Use colored candy melts in flavors such as orange or purple for a fruity taste and vibrant appearance.
- Add Sprinkles: Mix crushed candy corn or Halloween-themed sprinkles into the cookie mixture for extra texture and seasonal fun.
- Nut-Free Option: Use sunflower seed butter instead of peanut butter to keep the treats nut-free.
- Different Shapes: Switch up the bat mold. Use cookie cutters to make other festive shapes like ghosts or pumpkins for variety.
What to Serve with Bat Halloween Treats
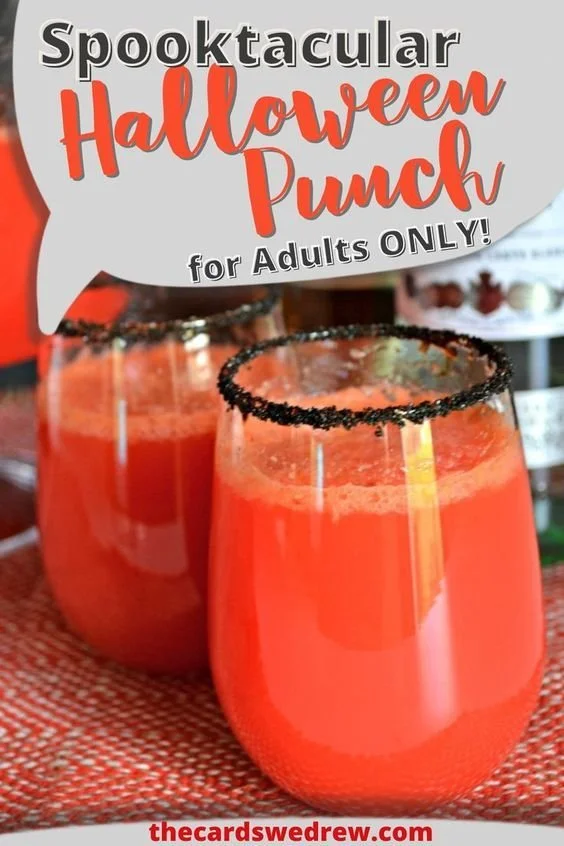
- Spooky Punch: Serve with a themed punch that matches the excitement of the treats.
- Chocolate Dipped Strawberries: These add a fresh fruit contrast and can be decorated for Halloween as well.
- Candy Corn: Set out bowls of candy corn for guests to snack on alongside the bats.
- Mini Pumpkin Pies: A delicious dessert option that pairs wonderfully with the sweetness of the bats.
- Cider or Hot Chocolate: Warm beverages create a cozy atmosphere and are perfect for Halloween celebrations.
Storage and Reheating
- Refrigerator Storage: Keep the bat treats in an airtight container in the refrigerator for up to one week.
- Freezer Storage: For longer storage, you can freeze the bats for up to 1 month. Just make sure they are well-wrapped to prevent freezer burn.
- Best Reheating Method: While these treats are best enjoyed cold, if stored in the freezer, allow them to thaw in the fridge rather than at room temperature.
- To Preserve Texture: Avoid reheating these treats as chocolate can melt and lose its shape; they are best served chilled.
Common Mistakes to Avoid
- Not Chilling Enough: If the bat shapes aren’t firm enough before chocolate coating, they may fall apart.
- Using Cold Ingredients: Make sure that cream cheese is at room temperature for easy blending.
- Neglecting Chocolate Quality: Using poor-quality chocolate can lead to undesirable flavors in the finished treats.
- Overhandling Dough: Excess handling can warm the mixture and cause melting before coating, ruining the shape.
- Skipping the Parchment Paper: Always line your baking sheet with parchment to ensure easy removal and to avoid sticking.
Bat Halloween Treats: Background & Cultural Inspiration
The tradition of celebrating Halloween dates back thousands of years to the ancient Celtic festival of Samhain. During this festival, people would light bonfires and wear costumes to ward off ghosts as it was believed that the boundary between the living and the dead was blurred. Today, Halloween is known for its playful spookiness, where treats like these Bat Halloween Treats add a creative touch. They blend the fun of candy-making with festive themes, inviting creativity and family togetherness in the kitchen during a time of year filled with fun and fright.
Frequently Asked Questions
Can I make Bat Halloween Treats ahead of time?
Yes! You can prepare these treats up to three days ahead. Just store them in an airtight container in the refrigerator until you’re ready to serve.
What can I substitute for chocolate sandwich cookies?
You can use any chocolate-flavored cookie or even graham crackers for a simpler flavor.
How can I make these treats allergy-friendly?
To make these treats gluten-free, purchase gluten-free chocolate cookies. For nut allergies, swap the cream cheese with a safe alternative like sunflower seed butter.
How can I add more flavor to the cookie mix?
You can mix in a bit of vanilla extract or almond extract to the cookie mixture for added flavor.
Can I use white chocolate instead of dark chocolate?
Absolutely! White chocolate works beautifully and can add a different level of sweetness to your Bat Halloween Treats.
Final Thoughts
Bat Halloween Treats are a fantastic way to embrace the spirit of Halloween while getting creative in the kitchen. These easy-to-make snacks not only look great but are sure to be a hit at any gathering. Give them a try this spooky season, and enjoy the smiles they bring to your friends and family!