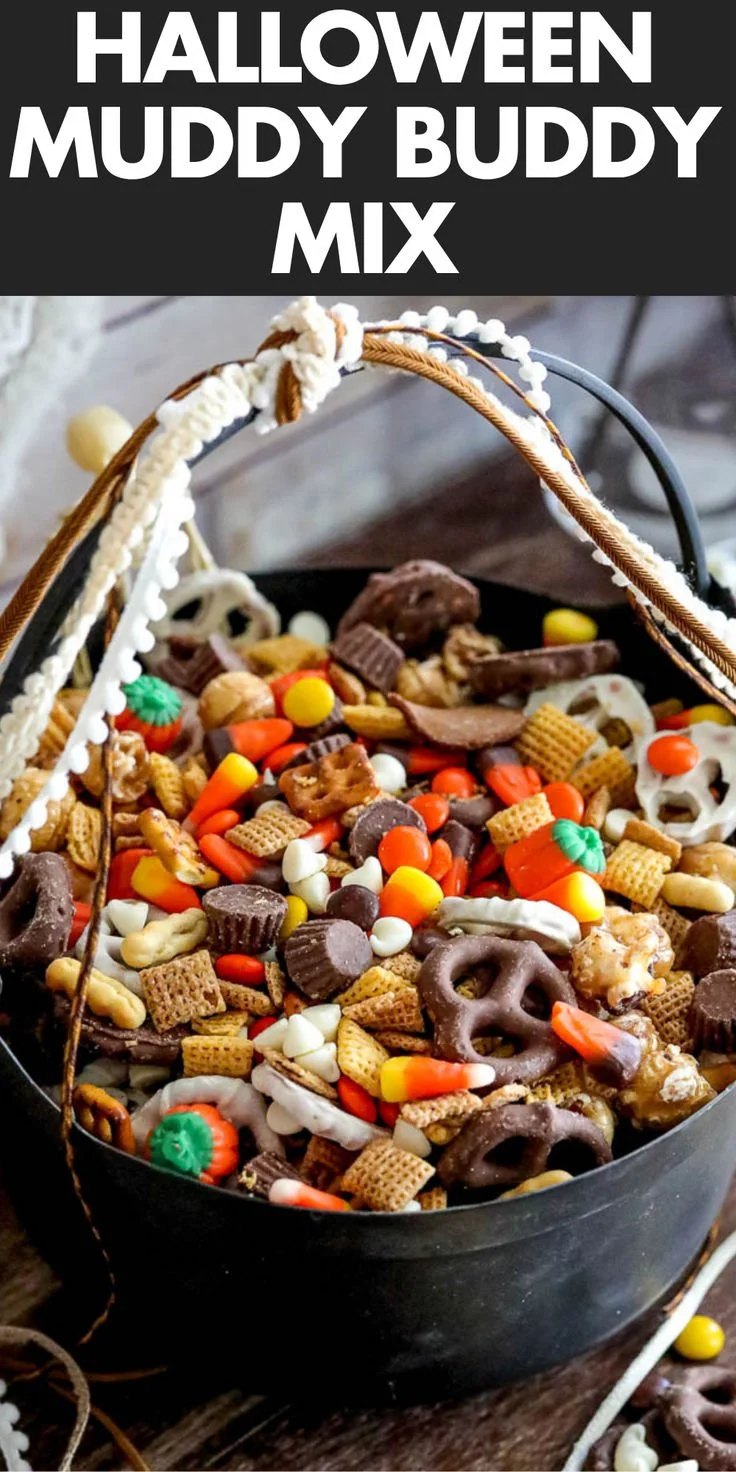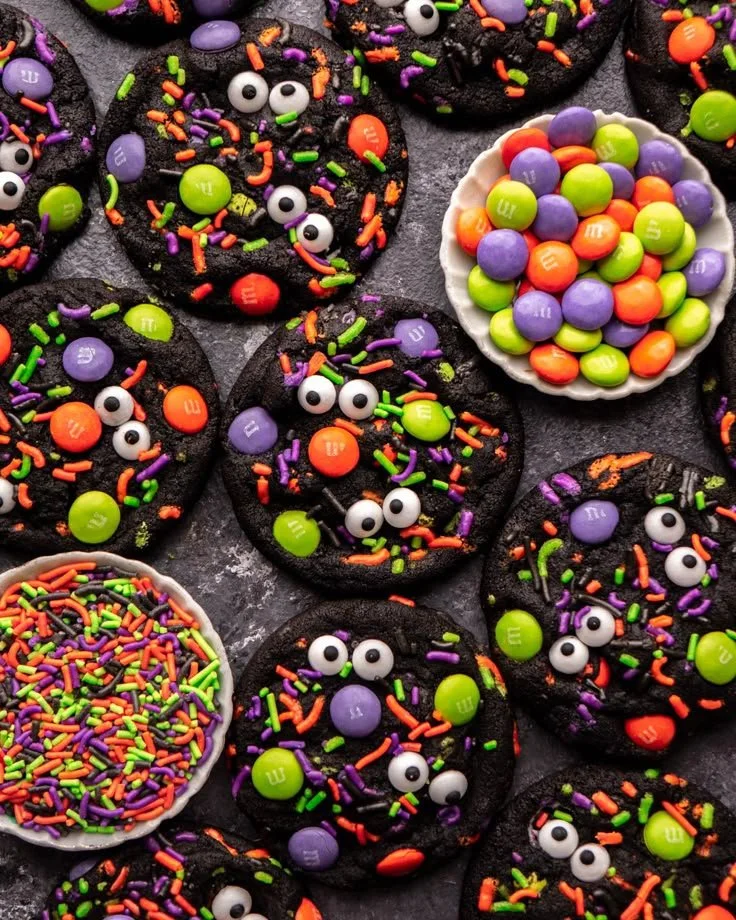
Making Halloween Cookies is a delightful way to celebrate the spooky season. These fun and festive treats are perfect for parties, gatherings, or just to enjoy with family. The great thing about this recipe is that it’s simple enough for beginner bakers and allows for plenty of creativity with decorations.
Why You’ll Love Halloween Cookies
- Fun to Make: This recipe invites you to be playful. Use cookie cutters to create various Halloween shapes like ghosts, pumpkins, and bats.
- Customizable Decorations: With icing and various toppings, you can personalize each cookie to your liking, whether you prefer classic designs or colorful masterpieces.
- Great for Kids: Involve the whole family! Making and decorating cookies can be a fun activity for children and adults alike.
- Perfect for Any Occasion: While these cookies are themed for Halloween, they can be enjoyed year-round by varying the designs.
- Easy Storage: The cookies can be made ahead of time and stored, allowing you to prepare for parties without last-minute stress.
Recipe Overview
- Prep Time: 15 minutes
- Cook Time: 10 minutes
- Total Time: 25 minutes
- Servings: About 24 cookies
- Difficulty Level: Easy
Ingredients You’ll Need for Halloween Cookies
-
Dry Ingredients
- 2 1/2 cups all-purpose flour
- 1 teaspoon baking powder
- 1/2 teaspoon baking soda
- 1/2 teaspoon salt
-
Wet Ingredients
- 1 cup unsalted butter, softened
- 1 1/2 cups granulated sugar
- 1 teaspoon vanilla extract
- 1 large egg
-
Optional Additions
- Food coloring (to create vibrant dough)
- Icing decorations (for fun and festive decorating)

How to Make Halloween Cookies
-
Preheat the Oven: Preheat your oven to 350°F (175°C) to ensure it’s hot enough for even baking.
-
Mix Dry Ingredients: In a bowl, whisk together the flour, baking powder, baking soda, and salt. This dry mix helps the cookies rise and achieve a good texture.
-
Cream Butter and Sugar: In a separate large bowl, cream the softened butter and granulated sugar together until the mixture is light and fluffy, about 3-5 minutes.
-
Add Egg and Vanilla: Beat in the egg and vanilla extract until well combined, enhancing the flavor and moisture of the dough.
-
Combine Dry Ingredients: Gradually blend in the dry mixture, mixing just until combined. Avoid overmixing to keep the cookies tender.
-
Add Color: If desired, separate the dough into portions and add food coloring to create different colors for your cookies.
-
Shape the Cookies: Roll out the dough on a floured surface and cut into Halloween shapes using cookie cutters for fun designs.
-
Prepare for Baking: Place the cut-out cookies on a baking sheet lined with parchment paper to prevent sticking.
-
Bake: Bake in the preheated oven for 8-10 minutes, or until the edges are lightly golden. Keep an eye on them to avoid overbaking.
-
Cool and Decorate: Allow cookies to cool completely before decorating with icing and festive toppings.
Tips for Success
- Use Softened Butter: Make sure the butter is at room temperature for easier mixing and better cookie texture.
- Don’t Overmix: Mix just until combined when adding dry ingredients to keep cookies soft.
- Chill the Dough: If the dough is too sticky, chill it in the refrigerator for 30 minutes before rolling it out.
- Use Quality Cookie Cutters: Using sharp cookie cutters helps achieve clean shapes that look great after baking.
- Decorate After Cooling: Allow cookies to cool fully to prevent icing from melting and blending into the cookie.
Easy Variations
- Chocolate Chip Halloween Cookies: Add 1 cup of chocolate chips to the dough for a sweet touch.
- Spritz Cookies: Use a cookie press instead of cookie cutters for a different shape and texture.
- Pumpkin Spice Flavor: Substitute 1 teaspoon of pumpkin spice for a seasonal flavor twist.
- Gluten-Free Option: Replace the all-purpose flour with a gluten-free flour blend to accommodate dietary needs.
- Coconut Topping: Sprinkle shredded coconut on top of icing for a ghostly appearance.
What to Serve with Halloween Cookies
- Hot Cocoa: A warm cup of hot cocoa complements the cookies perfectly, especially on chilly fall nights.
- Milk: The classic pairing of milk with cookies enhances the overall experience and balances sweetness.
- Ice Cream: Serve cookies with a scoop of vanilla or pumpkin ice cream for a delightful dessert.
- Fall Punch: A vibrant apple cider or fall-themed punch pairs well with the festive spirit of Halloween treats.
- Cheese Platter: Pair cookies with mild cheeses for a sweet and savory contrasting experience.
Storage and Reheating
- Refrigerator Storage: Store cookies in an airtight container in the refrigerator for up to one week.
- Freezer Storage: You can freeze the cookies for up to three months. Layer them with parchment paper to prevent sticking.
- Reheating: To maintain freshness, reheat cookies in the oven at 300°F (150°C) for about 5 minutes. Check to ensure they don’t overbake.
- Meal Prep Note: Cookie dough can be prepared ahead of time and refrigerated for several days before baking.
Common Mistakes to Avoid
- Using Cold Butter: Cold butter does not cream well, leading to dense cookies. Always use softened butter.
- Overbaking: Remove cookies from the oven as soon as the edges turn golden for the best texture.
- Ignoring Chilling: Skipping the chilling step can lead to misshapen cookies. Chilling helps retain their shape while baking.
- Inconsistent Dough Thickness: Rolling the dough to an even thickness ensures uniform baking. Aim for about 1/4-inch thick.
- Not Allowing to Cool: Decorating cookies while they’re warm can make the icing run and not stick properly.
Halloween Cookies: Background & Cultural Inspiration
Halloween cookies have become a cherished tradition in many households, often reflecting the playful and whimsical spirit of the holiday. Originating from various baking customs and influenced by the general enthusiasm for Halloween, they serve as both treats and decorations. The practice of decorating cookies dates back centuries and has roots in different cultures adopting festive baking practices during the fall harvest. Brightly colored icing and spooky designs capture the imagination of both children and adults, turning baking into a joyful activity that fosters connection and creativity.
Frequently Asked Questions
Can I make the dough ahead of time?
Yes! You can prepare the dough and refrigerate it for up to three days before rolling and baking the cookies.
How can I make my cookies softer?
Avoid overbaking and ensure you use the right amount of butter to prevent dryness. Chilling the dough can help maintain softness too.
Can I freeze decorated cookies?
Yes, decorated cookies can be frozen. Make sure the icing is completely set before layering them in an airtight container with parchment paper between the layers.
What kind of food coloring should I use?
Gel food coloring is recommended as it provides vibrant colors without thinning the dough.
How do I fix over-mixed dough?
If you suspect the dough is over-mixed (too stiff), you can try adding a teaspoon of milk to soften it slightly before rolling out.
Final Thoughts
Halloween Cookies are an engaging way to usher in the fall season with delicious flavors and creative designs. They are not only quick and easy to make but also provide something fun for the whole family. So gather your ingredients, grab some cookie cutters, and enjoy a baking session that will leave everyone excited for Halloween. Happy baking!