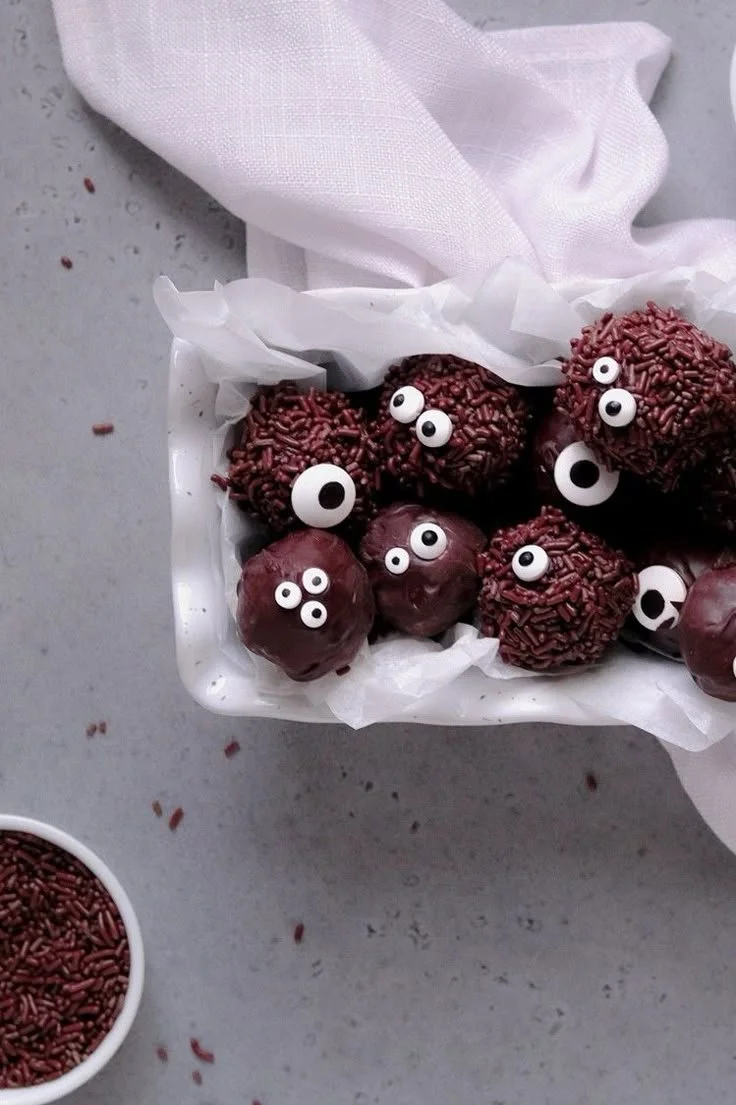
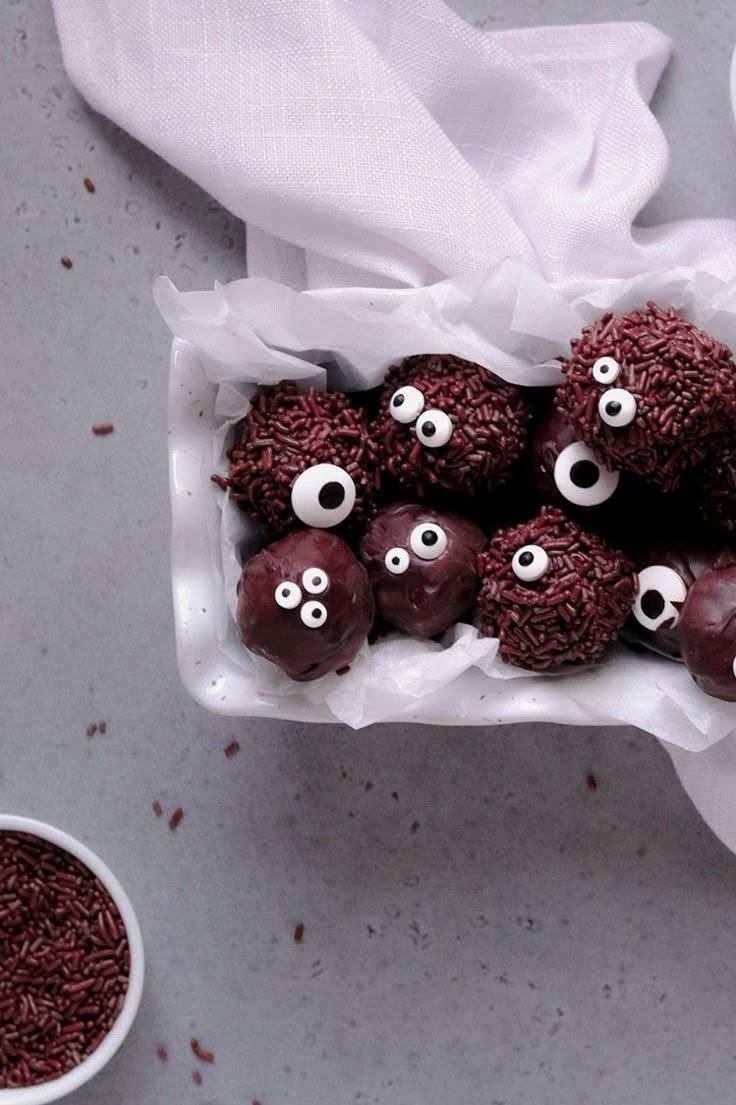
Halloween Monster Brownie Truffles are a fun twist on traditional brownies that kids and adults alike will love. These bite-sized treats combine rich brownie flavor with playful decorations, making them perfect for Halloween parties or festive gatherings. Whip up a batch of these truffles, and you’ll have an indulgent treat that screams Halloween fun!
Why You’ll Love Halloween Monster Brownie Truffles
- Easy to Make: With just a few steps, you can create these delightful truffles, making them suitable for beginner bakers.
- Customizable Toppings: Use various candies and toppings to create your ideal monster look, allowing for creativity and personalization.
- Perfect for Parties: These truffles are a hit at Halloween parties, and their cute designs will impress your guests.
- No Baking Required: The brownie base uses a no-bake approach, simplifying your time in the kitchen.
- Kid-Friendly: Both making and eating these truffles is a joy for children, engaging them in a fun cooking activity.
Recipe Overview
- Prep Time: 30 minutes
- Cook Time: 0 minutes (no-bake)
- Total Time: 30 minutes
- Servings: 24 truffles
- Difficulty Level: Easy
Ingredients You’ll Need for Halloween Monster Brownie Truffles
-
For the Brownie Base:
- 1 box of brownie mix (choose your favorite)
- 1/2 cup of vegetable oil
- 2 large eggs
- 1/4 cup of water
-
For the Coating and Decoration:
- 1 cup of chocolate chips (dark or milk chocolate)
- 1 cup of colorful sprinkles or topping options like crushed candies, mini marshmallows, or pretzel pieces
- Edible candy eyes (for extra spooky aesthetics)
How to Make Halloween Monster Brownie Truffles
-
Prepare the Brownie Mixture
In a large bowl, combine the brownie mix, vegetable oil, eggs, and water. Mix until just combined, being careful not to overmix. The batter should be thick and smooth. -
Form the Truffles
Using your hands or a cookie scoop, portion out tablespoon-sized amounts of the brownie mixture. Roll each piece into a ball and place on a parchment-lined baking sheet. -
Chill the Truffles
Refrigerate the brownie balls for about 15–20 minutes to firm them up. This will make it easier to coat them with chocolate. -
Melt the Chocolate
While the truffles chill, melt the chocolate chips. You can do this in a microwave-safe bowl in 30-second intervals, stirring in between, until smooth and fully melted. -
Coat the Truffles
Remove the truffles from the refrigerator. Dip each truffle into the melted chocolate, making sure it’s fully coated. Use a fork to lift it out, allowing excess chocolate to drip off. -
Add Toppings
Before the chocolate sets, quickly add sprinkles or other decorations. Press them gently into the chocolate coating to ensure they stick. Add edible candy eyes for a monster effect! -
Set the Chocolate
Let the decorated truffles sit at room temperature until the chocolate hardens (about 30 minutes), or refrigerate them briefly to speed the process.
Tips for Success
- Use Quality Chocolate: Opt for good-quality chocolate chips for a smooth and flavorful coating.
- Chill Truffles Thoroughly: Properly chilling the brownie balls helps maintain their shape when being coated.
- Mix Colors and Textures: Be creative with toppings! Combining different colors and textures makes your truffles visually appealing.
- Keep Coating Warm: If the chocolate starts to harden during the coating process, reheat it gently to maintain a smooth consistency.
Easy Variations
- Flavor Infusion: Add a teaspoon of peppermint or vanilla extract to the brownie mixture for an additional flavor boost.
- Nutty Addition: Mix in chopped nuts like walnuts or pecans for added crunch in the brownie base.
- Seasonal & Holiday: Swap out the toppings for seasonal candies, like pumpkin candies for fall or red and green candies for Christmas.
- Dairy-Free Option: Use dairy-free chocolate chips and a dairy-free brownie mix to cater to dietary preferences.
What to Serve with Halloween Monster Brownie Truffles
- Milk or Plant-Based Milk: Pair these truffles with a glass of milk for a classic combination, balancing sweetness and flavor.
- Coffee or Hot Cocoa: The richness of coffee or hot cocoa complements the chocolate truffles beautifully.
- Fruit Plate: Serve alongside a fresh fruit platter for a refreshing contrast to the sweetness of the truffles.
- Halloween-Themed Mocktails: Create some spooky mocktails using juices and sodas for a fun, festive pairing.
Storage and Reheating
- Refrigerator Storage: Keep the truffles in an airtight container in the refrigerator for up to one week.
- Freezer Storage: For longer storage, freeze the truffles in a single layer on a baking sheet, then transfer to a freezer-safe container. They will last for up to two months.
- Reheating Method: These truffles are best enjoyed cold, but if you prefer them slightly warm, let them sit at room temperature for about 10–15 minutes before serving. Avoid reheating in the microwave, as it may affect texture and taste.
Common Mistakes to Avoid
- Overmixing the Brownie Batter: Be careful not to overmix after adding the wet ingredients, or the brownies may become tough.
- Skipping the Chill Time: Don’t skip the chilling step; this is crucial for keeping the truffles’ shape during coating.
- Forgetting the Toppings: Add the toppings while the chocolate is still wet for the best adherence.
- Not Waiting for the Chocolate to Set: Patience is key! Let the chocolate set before serving to avoid messy bites.
Halloween Monster Brownie Truffles: Background & Cultural Inspiration
Halloween treats like these truffles combine playful elements with traditional flavors, making them a perfect addition to holiday festivities. The practice of creating themed desserts during Halloween dates back centuries, celebrating the playful and sometimes spooky nature of the holiday. Truffles, being small and rich, lend themselves beautifully to a festive reimagining, making them an appealing choice for showcasing creativity and celebration.
Frequently Asked Questions
Can I make Halloween Monster Brownie Truffles ahead of time?
Yes! You can prepare these truffles a day or two in advance. Just store them properly in the refrigerator or freezer.
What can I substitute for the brownie mix?
You can use a homemade brownie recipe if you prefer from scratch. Just ensure the texture allows for easy rolling into truffle shapes.
How long can I keep the truffles in the refrigerator?
Stored in an airtight container, these truffles can last up to a week in the refrigerator.
Can I use white chocolate for coating?
Absolutely! White chocolate can add a lovely touch and pairs well with colorful toppings.
What can I use if I don’t have candy eyes?
Mini chocolate chips or other small candies can work well as substitutes for candy eyes.
Final Thoughts
Halloween Monster Brownie Truffles are not only a treat for the taste buds but also a fun culinary project that brings a touch of creativity to your kitchen. With their vibrant colors and playful designs, these truffles are a delightful addition to any Halloween gathering. Give this recipe a try, and you’re sure to create a sweet memory that will delight friends and family alike!
PrintHalloween Monster Brownie Truffles
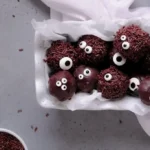
Fun and festive truffles made with a rich brownie base, perfect for Halloween parties.
- Prep Time: 30 minutes
- Cook Time: 0 minutes
- Total Time: 30 minutes
- Yield: 24 truffles
- Category: Dessert
- Method: No-Bake
- Cuisine: American
- Diet: Vegetarian
Ingredients
- 1 box of brownie mix
- 1/2 cup of vegetable oil
- 2 large eggs
- 1/4 cup of water
- 1 cup of chocolate chips
- 1 cup of colorful sprinkles
- Edible candy eyes
Instructions
- Prepare the brownie mixture: In a large bowl, combine the brownie mix, vegetable oil, eggs, and water. Mix until just combined.
- Form the truffles: Portion out tablespoon-sized amounts of the mixture and roll them into balls.
- Chill the truffles: Refrigerate the brownie balls for about 15–20 minutes.
- Melt the chocolate: Heat chocolate chips in a microwave-safe bowl until smooth.
- Coat the truffles: Dip each truffle into the melted chocolate until fully coated.
- Add toppings: Quickly add sprinkles and candy eyes before the chocolate sets.
- Set the chocolate: Let the truffles sit at room temperature until the chocolate hardens.
Notes
Use high-quality chocolate for best results. Feel free to mix different colors and textures for toppings.