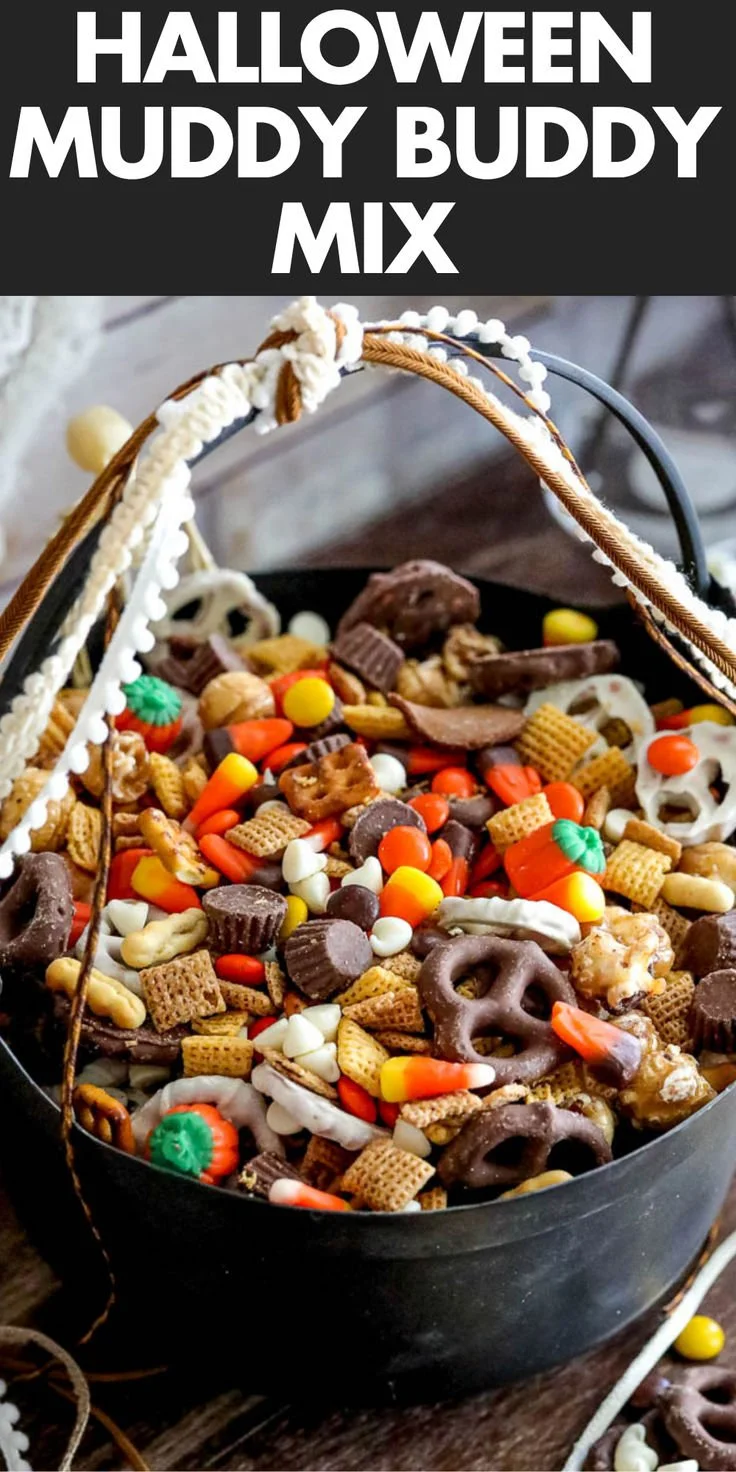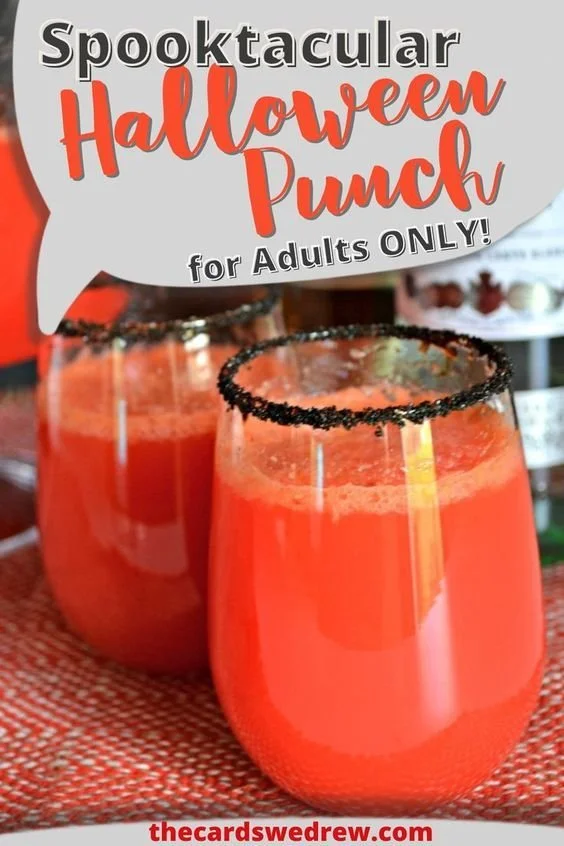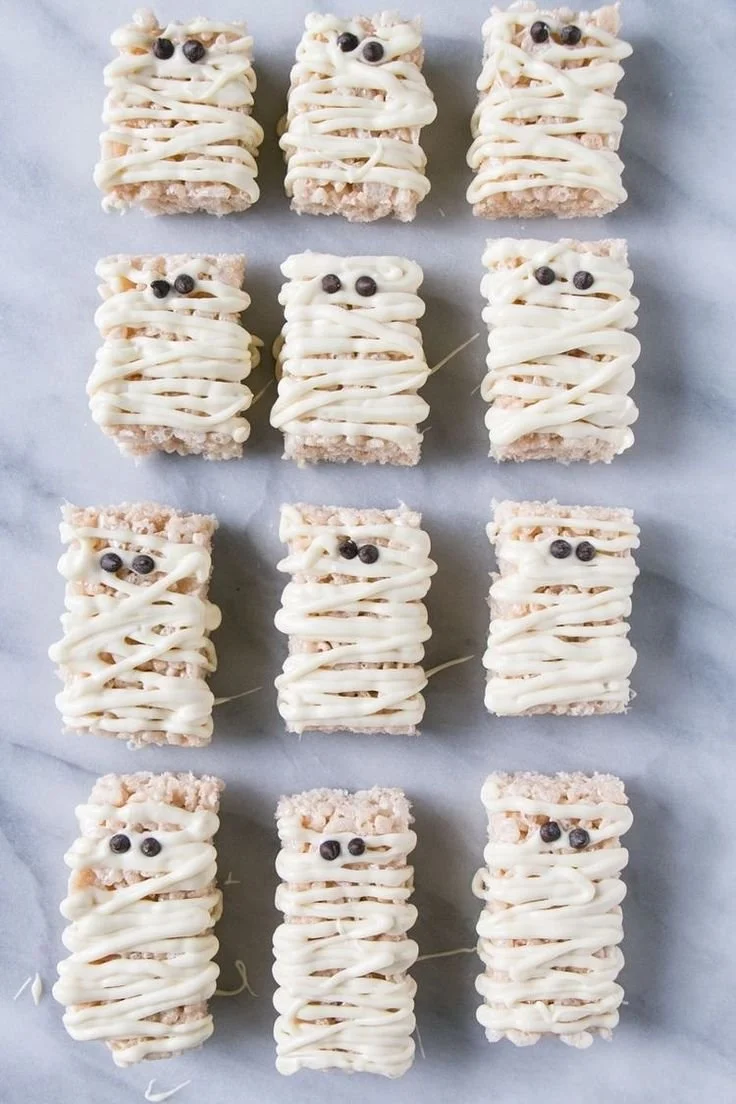
This Halloween Snack Ideas for Kids recipe is a fun and creative way to make the holiday memorable for your little ones. With easy-to-follow steps and simple ingredients, you can whip up treats that are both spooky and delicious. This recipe is not only a hit at parties but also a great way to encourage kids to get involved in the kitchen.
Why You’ll Love Halloween Snack Ideas for Kids
- Fun for Everyone: Involving kids in the cooking process makes it more enjoyable and encourages creativity.
- Simple Ingredients: Most ingredients are pantry staples, making this recipe easy on the wallet.
- Perfect for Parties: These snacks are ideal for Halloween parties or school events, sure to delight kids and adults alike.
- Customizable Designs: You can easily adapt the shapes and decorations to fit any Halloween theme you like.
- Quick to Prepare: These treats come together quickly, so you won’t spend hours in the kitchen.
Recipe Overview
- Prep Time: 20 minutes
- Cook Time: 10 minutes
- Total Time: 30 minutes
- Servings: 12 servings
- Difficulty Level: Easy
Ingredients You’ll Need for Halloween Snack Ideas for Kids
-
Base Ingredients:
- Rice Cereal: 6 cups (for crispy treats)
- Marshmallows: 10 oz (for binding and sweetness)
- Butter: ¼ cup (to make everything stick together)
-
Decorating Ingredients:
- Candy Corn: 1 cup (for a classic Halloween touch)
- Chocolate Chips: 1 cup (for spooky eyes)
- Sprinkles: ½ cup (for added color)
- Food Coloring: Optional (to dye white chocolate or frosting)
- Fruit Snacks or Gummy Worms: For extra decoration or flavor
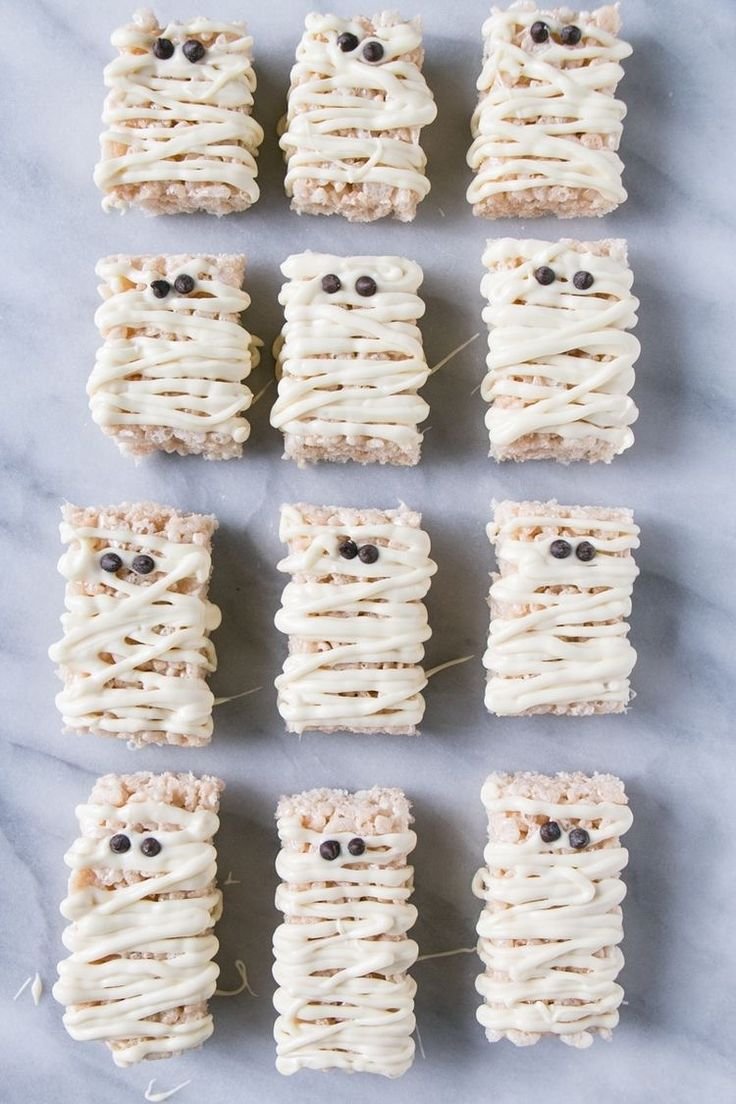
How to Make Halloween Snack Ideas for Kids
- Melt the Marshmallows: In a large saucepan, melt the butter over low heat. Add the marshmallows and stir until fully melted and smooth.
- Mix in Rice Cereal: Remove the pan from the heat and quickly add the rice cereal. Stir until the cereal is evenly coated with the marshmallow mixture.
- Shape the Treats: Allow the mixture to cool for a few minutes, then press it into a greased baking dish using wax paper or your hands. Aim for an even layer about 1 to 2 inches thick.
- Cut into Shapes: Once set, cut the mixture into fun Halloween shapes using cookie cutters or a knife.
- Decorate: Melt chocolate chips (if using) and drizzle or dip the treats. Decorate with candy corn, chocolate eyes, sprinkles, and any additional toppings of your choice.
- Let Set: Allow the decorations to set for about 15 minutes before serving.
Tips for Success
- Use Fresh Ingredients: Ensure your marshmallows are fresh for the best texture.
- Don’t Overheat: Melt the marshmallows on low heat to avoid burning. Stir continuously for even melting.
- Press Firmly: When shaping the mixture, press it firmly into the dish to avoid crumbly treats.
- Experiment with Colors: Don’t shy away from using different colored food dyes to enhance the spooky aesthetic.
- Store Properly: Keep treats in an airtight container to preserve their freshness for a few days.
Easy Variations
- Chocolate-Covered Treats: Dip your treats in melted chocolate for an extra layer of deliciousness.
- Add Nuts: Mix in some chopped nuts for additional texture.
- Use Different Cereals: Swap rice cereal for another cereal such as cornflakes or Cheerios for a different flavor.
- Gluten-Free Option: Use gluten-free rice cereal to make these treats suitable for gluten-sensitive kids.
- Themed Shapes: Use Halloween-themed cookie cutters like pumpkins, ghosts, or bats for added fun.
What to Serve with Halloween Snack Ideas for Kids
- Hot Apple Cider: A warm drink that pairs well with sweets.
- Veggie Platter: Fresh veggies balance out the sugary treats while still being festive.
- Spooky Punch: Serve a fun Halloween-themed drink, perhaps with gummy worms floating on top.
- Mini Sandwiches: The savory element complements the sweetness of the treats.
- Fruit Cup: A refreshing fruit side helps cleanse the palate.
Storage and Reheating
- Refrigerator Storage: Store treats in an airtight container in the fridge for up to a week.
- Freezer Storage: If you want to keep them longer, freeze in a single layer and then transfer to a container; they will last about a month.
- Reheating Tips: If you freeze them, let them thaw in the fridge overnight. Refresh crunchy treats in the oven for a few minutes on low heat.
- To Preserve Texture: Use parchment paper between layers in the storage container to avoid sticking.
Common Mistakes to Avoid
- Overheating Butter: This can affect the texture of the treats. Keep the heat low and stir continuously.
- Under-Mixing: Ensure the cereal is completely coated with the marshmallow mixture to avoid dry spots.
- Cutting Too Soon: Let the treats cool completely before cutting to avoid them falling apart.
- Using Old Marshmallows: Stale marshmallows will not melt properly, impacting your treat’s final texture.
- Not Packing the Mixture Enough: Failing to press the mixture tightly can result in crumbly treats.
Halloween Snack Ideas for Kids: Background & Cultural Inspiration
Halloween, celebrated on October 31st, originated from ancient Celtic traditions and has evolved into a holiday filled with costumes, decorations, and festive treats. The idea of creating spooky snacks draws from the playful spirit of the holiday, where sweet and savory bite-sized treats serve as the perfect complement to trick-or-treating. Inviting kids into the kitchen for these Halloween snacks emphasizes the joy of home cooking while fostering creativity and family bonding.
Frequently Asked Questions
Can I make these treats ahead of time?
Absolutely! You can prepare these treats a few days in advance. Just make sure to store them properly in an airtight container.
What can I use instead of rice cereal?
Feel free to substitute rice cereal with other cereals like cornflakes or even granola, depending on your preference.
How can I make these treats healthier?
Consider using dark chocolate or natural sweeteners instead of candy, and add nuts or dried fruits for added nutrition.
Can these snacks be stored in the freezer?
Yes! These treats can be frozen for up to a month. Just ensure they are well-packaged to prevent freezer burn.
Are there any other decorating ideas?
Definitely! Besides candy corn and chocolate chips, you can use pretzel sticks, frosting, or other themed candies to mix it up.
Final Thoughts
This Halloween Snack Ideas for Kids recipe is an enjoyable and straightforward way to celebrate the holiday. Not only can you create delicious, festive treats, but you also foster creativity and connection by involving your kids in the process. So roll up your sleeves, gather the ingredients, and have some fun baking together—it’s worth every bite!
PrintHalloween Snack Ideas for Kids
A fun and creative way to celebrate Halloween with simple and delicious snacks that kids can help make.
- Prep Time: 20 minutes
- Cook Time: 10 minutes
- Total Time: 30 minutes
- Yield: 12 servings
- Category: Snack
- Method: No-Bake
- Cuisine: American
- Diet: Vegetarian
Ingredients
- 6 cups Rice Cereal
- 10 oz Marshmallows
- ¼ cup Butter
- 1 cup Candy Corn
- 1 cup Chocolate Chips
- ½ cup Sprinkles
- Food Coloring (optional)
- Fruit Snacks or Gummy Worms (for decoration)
Instructions
- Melt the butter in a large saucepan over low heat. Add the marshmallows and stir until fully melted and smooth.
- Mix in the rice cereal quickly, stirring until evenly coated with the marshmallow mixture.
- Shape the mixture by pressing it into a greased baking dish using wax paper or your hands.
- Cut the mixture into fun Halloween shapes using cookie cutters or a knife.
- Decorate with melted chocolate, candy corn, chocolate eyes, sprinkles, and any additional toppings you like.
- Let the decorations set for about 15 minutes before serving.
Notes
Use fresh ingredients for the best texture and store in an airtight container for freshness.