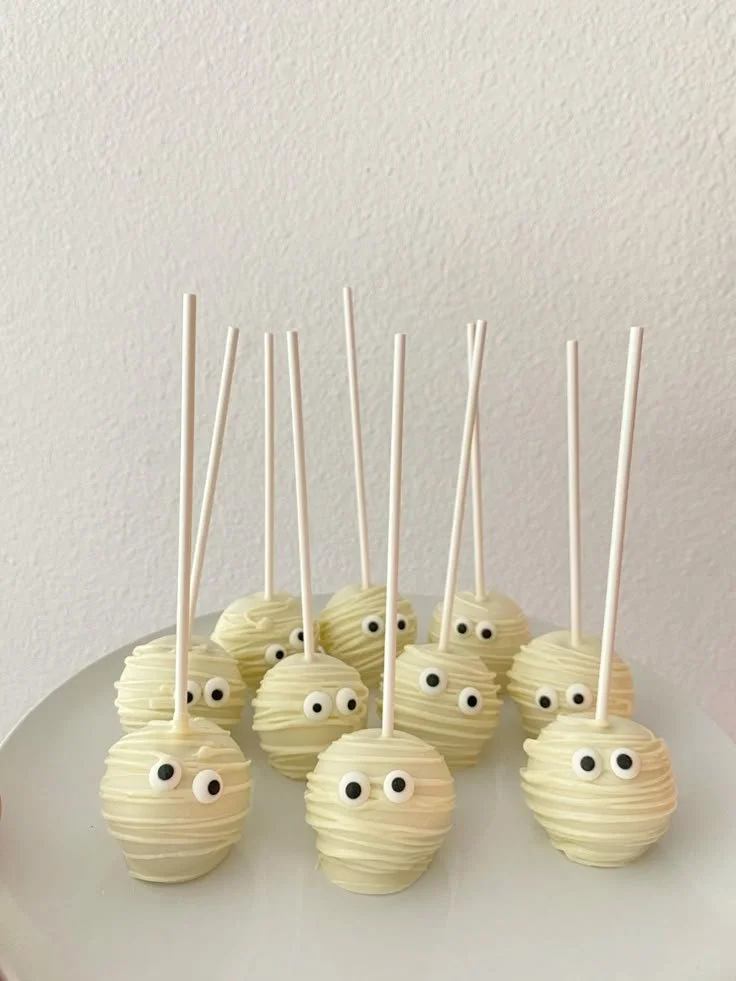
Chocolate Peanut Butter Cake Pops are an irresistible treat that combines the rich flavors of chocolate and peanut butter into a fun, bite-sized dessert. They are not only delightful but also incredibly easy to make, making them perfect for parties, gatherings, or just a sweet snack any time of the day. This recipe allows you to get creative and customize your cake pops, offering a delightful twist on traditional desserts.
Why You’ll Love Chocolate Peanut Butter Cake Pops
- Easy to Make: With simple ingredients and straightforward steps, even beginner bakers can successfully create these treats.
- Customizable: You can experiment with different coatings, sprinkles, or fillings to create a unique treat every time.
- Perfect for Any Occasion: Whether it’s a birthday party, holiday gathering, or a cozy night in, these cake pops fit the bill.
- No Bake Option: Use store-bought cake and frosting to skip the baking altogether, saving time while still delivering delicious results.
- Fun for Kids: Involving the kids in the decorating process makes these cake pops a great family activity.
Recipe Overview
- Prep Time: 30 minutes (plus chilling time)
- Cook Time: 0 minutes (if using ready-made cake)
- Total Time: About 1 hour (including chilling)
- Servings: Makes about 20 cake pops
- Difficulty Level: Easy
Ingredients You’ll Need for Chocolate Peanut Butter Cake Pops
- Chocolate Cake: 1 batch (homemade or store-bought)
- Use your favorite recipe or a box mix.
- Peanut Butter Frosting: 1 cup (or store-bought)
- Adds sweetness and moisture; can substitute with chocolate frosting if desired.
- Chocolate Melting Wafers: 12 oz (for coating)
- Choose semi-sweet or milk chocolate based on your preference.
- Candy Sprinkles: 1 cup (optional)
- For added decoration and texture.
- Lollipop Sticks: 20
- Available at craft stores and online for cake pop making.

here
How to Make Chocolate Peanut Butter Cake Pops
-
Prepare the Cake
- If using homemade cake, bake according to the recipe. If using a box mix, follow the package instructions. Let cool completely.
-
Crumble the Cake
- Once the cake is cooled, crumble it into a large bowl until there are no large pieces left.
-
Add Frosting
- Mix in the peanut butter frosting a little at a time until the mixture is moist and holds together when rolled. You may need less than a full cup, so adjust based on texture.
-
Form the Balls
- Using your hands, roll the mixture into 1-inch balls and place them on a baking sheet lined with parchment paper. Chill in the refrigerator for about 30 minutes.
-
Melt the Chocolate
- In a microwave-safe bowl, melt the chocolate wafers according to the package instructions, stirring until smooth.
-
Dip the Sticks
- Dip one end of each lollipop stick into the melted chocolate and insert it halfway into each chilled cake ball. This helps hold the stick in place.
-
Coat the Cake Pops
- Dip each cake ball into the melted chocolate, making sure to cover it completely. Gently tap the stick against the bowl’s edge to remove excess chocolate.
-
Decorate
- If desired, immediately sprinkle with candy sprinkles before the chocolate hardens.
-
Cool Completely
- Stand the cake pops upright in a foam block or arrange them on a baking sheet until the chocolate sets. Chill for about 15 minutes to ensure they are firm.
Tips for Success
- Chill Properly: Ensure the cake balls are chilled thoroughly before dipping; this prevents them from falling apart.
- Don’t Overheat Chocolate: When melting the chocolate, do so in intervals to avoid burning. Stir frequently for a smooth consistency.
- Use Quality Ingredients: High-quality chocolate and frosting can enhance the overall flavor.
- Customize Shapes: Try shaping the cake pops into different forms for themed occasions, such as hearts for Valentine’s Day.
- Drying Rack: Use a cooling rack to prevent the bottom from sticking after dipping.
Easy Variations
- Nutty Chocolate: Add chopped nuts or crushed pretzels to the cake ball mixture for texture.
- Different Coatings: Use white chocolate or colored candy melts to coat for a festive look.
- Flavor Twists: Substitute chocolate cake with vanilla or red velvet for varied flavors.
- Dipped in Caramel: Drizzle melted caramel over the coated cake pops for a sweet finishing touch.
- Peanut Butter Drizzle: Melt some peanut butter and drizzle over the coated pops for extra flavor.
What to Serve with Chocolate Peanut Butter Cake Pops
- Milk: A classic pairing that complements the rich flavors of chocolate and peanut butter.
- Coffee: The contrast of bitter coffee balances the dessert’s sweetness for an enjoyable treat at brunch.
- Ice Cream: Serve alongside a scoop of vanilla or chocolate ice cream for a decadent dessert plate.
- Fruit Salad: The freshness of fruit provides a light contrast to the richness of the cake pops.
- Nut Mix: A small bowl of mixed nuts can provide a savory crunch alongside the sweet pops.
Storage and Reheating
- Refrigerator Storage: Keep them in an airtight container in the fridge for up to a week.
- Freezer Storage: For longer storage, freeze the cake pops for up to two months. Thaw in the refrigerator before serving.
- Reheating: Cake pops do not need reheating; enjoy them chilled or at room temperature to preserve texture.
- Meal Prep Note: These cake pops are perfect for preparing ahead of time for parties or gatherings.
Common Mistakes to Avoid
- Not Chilling the Mixture: Skipping the chilling step can lead to cake pops that fall apart during dipping.
- Using Too Much Frosting: Adding excess frosting can make the mixture too wet, causing it to lose shape.
- Overheating the Chocolate: Chocolate should be melted slowly to keep its smooth consistency.
- Not Tapping Off Excess: Failing to tap off excess chocolate can lead to thick, unattractive coatings that may not set properly.
- Skipping the Stick Dip: This step is crucial for ensuring the sticks stay in place.
Chocolate Peanut Butter Cake Pops: Background & Cultural Inspiration
Chocolate cake pops have gained popularity in recent years as creative and portable dessert options. The combination of chocolate and peanut butter has long been a beloved pairing, echoing flavors across various cultures. Known for their versatility, cake pops can incorporate regional flavors—from classic American peanut butter to variations seen in Asian desserts utilizing sweet red bean paste. Their portability and ease of customization make them a go-to for sharing festive cheer, whether at birthday parties, holiday celebrations, or casual family gatherings.
Frequently Asked Questions
Can I make these cake pops gluten-free?
Yes, use a gluten-free cake mix and ensure your frosting does not contain gluten.
How long do these last in the refrigerator?
Chocolate Peanut Butter Cake Pops can last in an airtight container for up to one week in the fridge.
Can I use a different type of frosting?
Absolutely! You can use chocolate, vanilla, or any other frosting that suits your taste.
How do I troubleshoot cracking in the chocolate coating?
If your chocolate is cracking, it may be too thick. Consider adding a small amount of vegetable shortening to thin it out slightly.
Can I make these ahead of time?
Yes, you can prepare the cake pops up to a week in advance. Just keep them stored properly in the refrigerator or freezer.
Final Thoughts
Chocolate Peanut Butter Cake Pops are a delightful treat that brings together the best of both worlds: the comforting taste of chocolate cake and the creamy richness of peanut butter. Easy to make and highly customizable, these cake pops will surely be a hit at your next gathering or when you simply need a sweet indulgence. Give this recipe a try, and enjoy the joy it brings to your table!