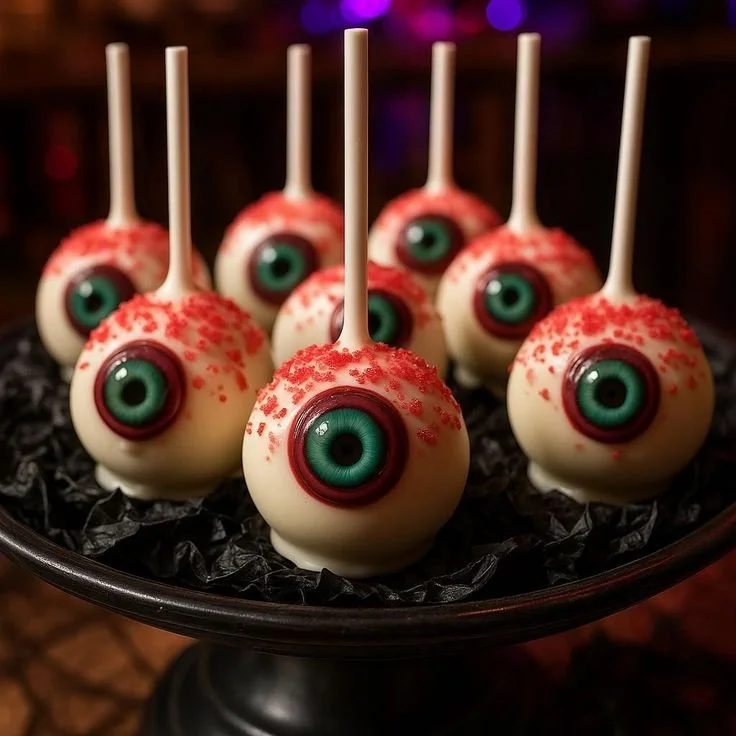
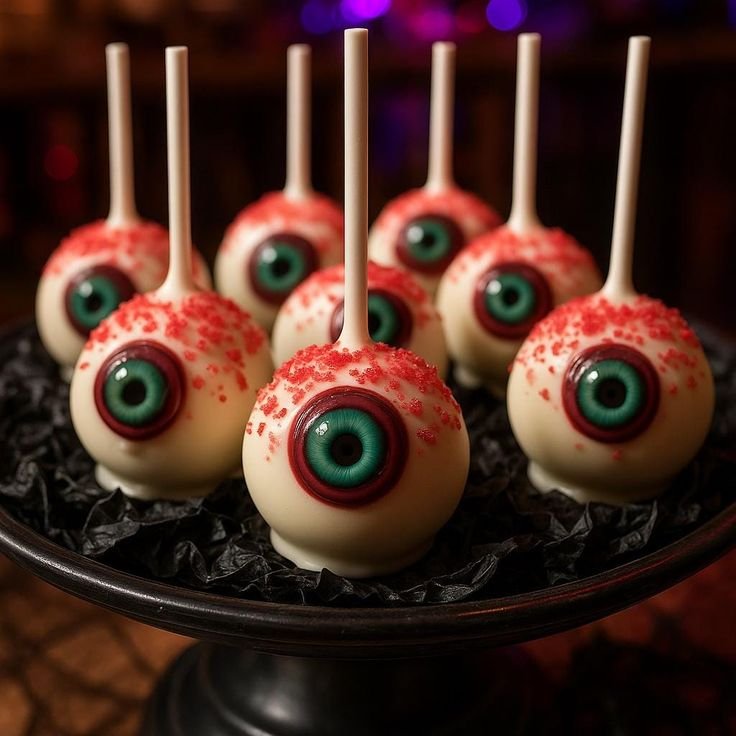
Eyeball Cake Pops are a delightfully spooky treat that’s perfect for Halloween or any time you want to add a bit of fun to your dessert table. These cake pops are easy to make and can be customized to fit your theme, making them a wonderful project for beginners and seasoned bakers alike. With a simple combination of cake and frosting, coated in melted white chocolate and decorated with edible details, they’re sure to be a hit at any gathering.
Why You’ll Love Eyeball Cake Pops
- Easy to Make: This recipe requires minimal ingredients and straightforward steps, making it ideal for beginners or those short on time.
- Customizable Decorations: You can design these cake pops to suit any occasion, from spooky Halloween parties to festive celebrations.
- Fun for the Whole Family: Involve your kids in the decorating process for a fun family activity that sparks creativity.
- Decadent Deliciousness: The combination of moist cake and rich frosting, covered in smooth chocolate, creates a truly indulgent treat.
- Perfect for Parties: These cake pops are portable and easy to serve, making them a hit at parties, school events, or as unique gifts.
Recipe Overview
- Prep Time: 20 minutes
- Cook Time: 0 minutes (if using store-bought cake)
- Total Time: About 50 minutes (including freezing time)
- Servings: 12 cake pops
- Difficulty Level: Easy
Ingredients You’ll Need for Eyeball Cake Pops
- 1 cake (cake flavor of your choice, ideally a mix or leftovers)
- 1 cup frosting (store-bought or homemade)
- 1 cup white chocolate (for coating)
- Edible colored details or candy eyes (for decoration)
here
How to Make Eyeball Cake Pops
- Crumble the Cake: Start by crumbling the baked cake into a large bowl until it resembles fine crumbs.
- Combine with Frosting: Add the frosting to the crumbled cake and mix well until fully combined. The mixture should be moist and hold together when pressed.
- Shape the Balls: Use your hands to shape the mixture into small balls, about 1 inch in diameter, and place them on a parchment-lined baking sheet.
- Freeze the Cake Balls: Cover the baking sheet with plastic wrap and freeze the cake balls for about 30 minutes or until firm.
- Melt the White Chocolate: In a microwave-safe bowl, melt the white chocolate in 30-second intervals, stirring until smooth.
- Dip the Cake Balls: Remove the cake balls from the freezer. Dip each ball into the melted chocolate, allowing any excess to drip off.
- Return to Baking Sheet: Place the dipped cake pops back onto the lined baking sheet.
- Decorate While Wet: Before the chocolate sets, add your edible colored details or candy eyes to create the eyeball effect.
- Let Set: Allow the chocolate to fully harden before serving.
Tips for Success
- Use Leftover Cake: If you have leftover birthday or celebration cake, it’s the perfect base for these cake pops.
- Check Your Chocolate: Ensure the white chocolate is smooth and not overheated; if it thickens, add a little vegetable oil to loosen it up.
- Avoid Soggy Pops: Ensure you don’t add too much frosting; it should be just enough to bind the cake crumbs.
- Keep Your Hands Clean: Dampen your hands slightly when rolling the cake balls to prevent sticking.
- Store Properly: Keep finished cake pops in a cool place until ready to serve to maintain the chocolate coating’s firmness.
Easy Variations
- Different Cake Flavors: Try using chocolate, vanilla, or red velvet cake for varied flavors.
- Chocolate Coating: Substitute white chocolate with milk or dark chocolate for a different taste.
- Themed Decorations: Use different colored chocolate melts to match your party theme.
- Add Sprinkles: Roll the dipped cake pops in sprinkles before the chocolate sets for an added crunch and color.
- Pumpkin Spice Pop: Add pumpkin spice to the frosting for a seasonal twist.
What to Serve with Eyeball Cake Pops
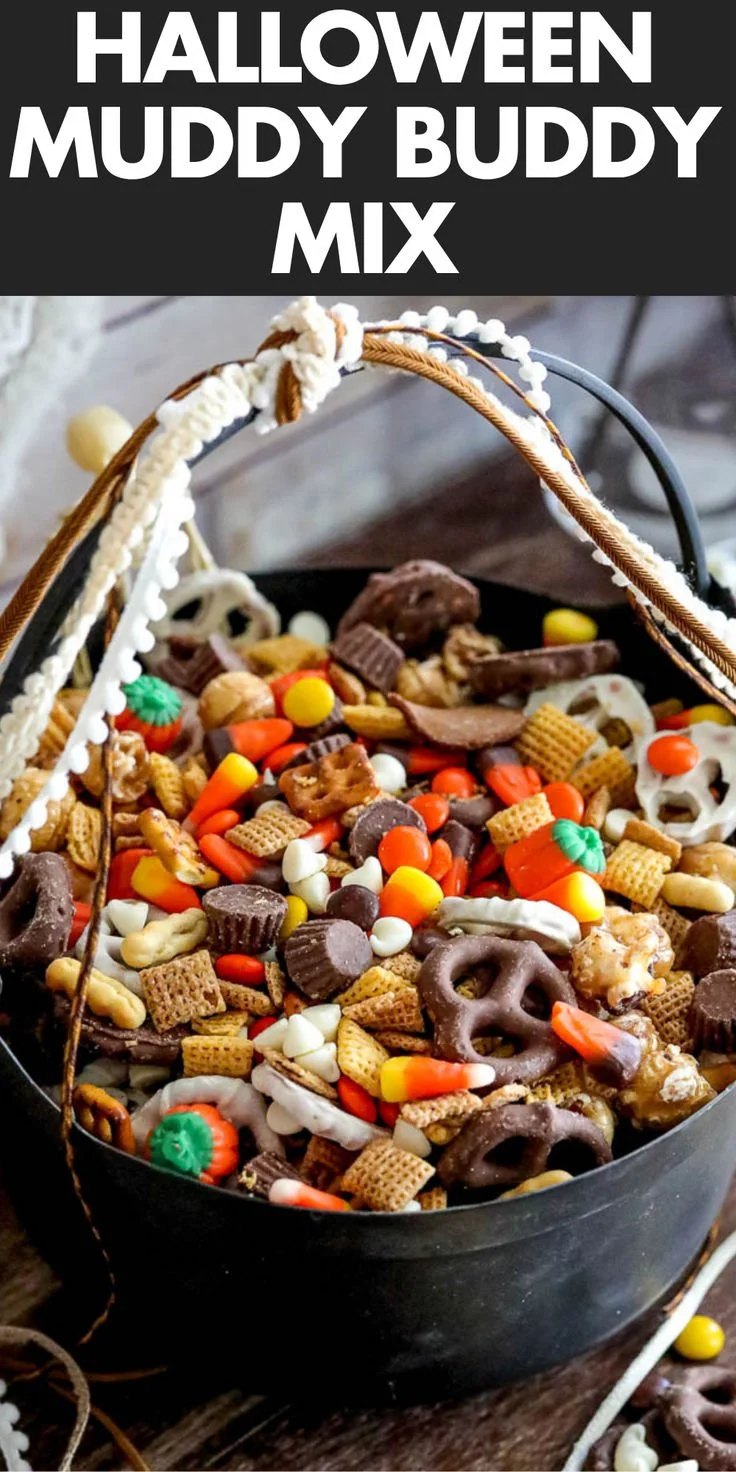
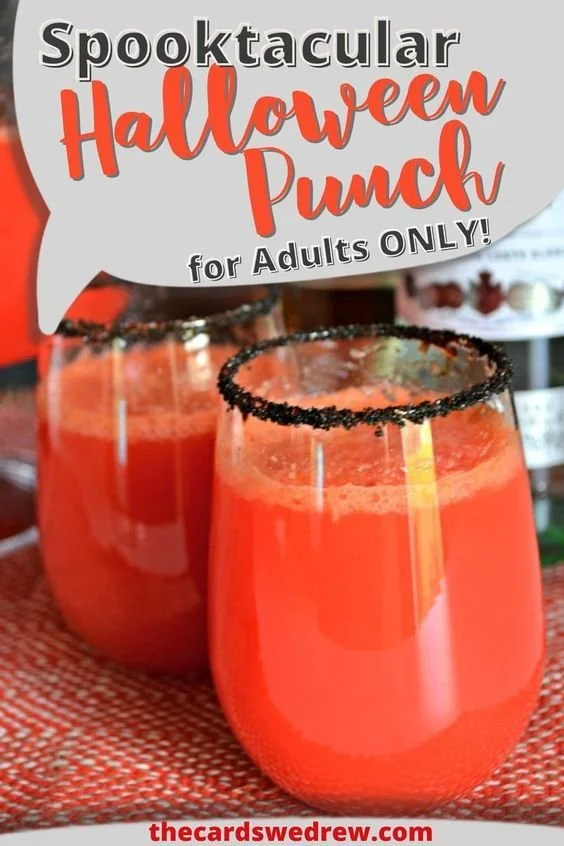
- Spooky Punch: Pair your cake pops with a spooky punch—visible “eyeballs” made from lychee fruit and blueberries could be a fun addition.
- Halloween Cookies: Serve with spooky-themed cookies for a comprehensive Halloween treat table.
- Fruit Skewers: Fresh fruit skewers can provide a refreshing balance to the sweetness of cake pops.
- Monster Brownies: Brownies decorated with monster faces can add variety and complement the eerie theme.
Storage and Reheating
- Refrigeration: Store leftover cake pops in an airtight container in the refrigerator for up to one week.
- Freezing: For longer storage, freeze the cake pops before dipping them in chocolate. Once dipped, they can be stored in the freezer for up to three months.
- Serving: Let frozen cake pops thaw in the refrigerator before serving to maintain their texture.
Common Mistakes to Avoid
- Too Much Frosting: Adding too much frosting can make the cake balls soggy; aim for just enough to bind.
- Skipping the Freeze: Don’t skip the freezing step;this ensures the cake balls hold their shape during dipping.
- Overheating Chocolate: Be cautious when melting chocolate; overheating can cause it to seize up.
- Inadequate Dipping Technique: Make sure to dip quickly and let excess chocolate drip off fully to avoid a thick coating.
- Rushing the Cooling Process: Allow enough time for the chocolate to set completely before handling or serving.
Eyeball Cake Pops: Background & Cultural Inspiration
Cake pops are a modern twist on the traditional cake and have gained popularity for their portability and fun presentation. Their origins are believed to stem from the need to use leftover cake, transforming it into bite-sized desserts that people adore today. This particular recipe brings a playful and spooky element to gatherings, making it ideal for celebrations that embrace creativity and lighthearted fun. Decorated to resemble eyeballs, they can bring a mix of delightful horror, making them perfect for Halloween or themed parties.
Frequently Asked Questions
Can I use store-bought cake?
Yes, store-bought cake works perfectly for this recipe and saves time. Just crumble it and mix with frosting.
How long do cake pops last?
When stored properly in the refrigerator, they can last up to one week. For longer storage, keep them in the freezer for up to three months.
Can I make these ahead of time?
Absolutely! You can prepare the cake balls in advance, freeze them, and coat them in chocolate just before serving.
What if my chocolate isn’t melting smoothly?
If your chocolate becomes too thick, add a small amount of vegetable oil or shortening to help thin it out.
How do I make my cake pops festive for different occasions?
You can change the colors and themes of your decorations—use red and green for Christmas, pastels for Easter, or school colors for parties.
Final Thoughts
Eyeball Cake Pops are a fantastic way to add a touch of fun to your dessert options, perfect for a variety of occasions. They combine creativity with delicious flavors that both kids and adults will enjoy. With simple ingredients and easy instructions, you can whip up these treats in no time. Try making them for your next gathering, and they are sure to become a favorite!
PrintEyeball Cake Pops

Delightfully spooky cake pops perfect for Halloween or any fun dessert table, customizable for any occasion.
- Prep Time: 20 minutes
- Cook Time: 0 minutes
- Total Time: 50 minutes
- Yield: 12 cake pops
- Category: Dessert
- Method: Dipping
- Cuisine: American
- Diet: Vegetarian
Ingredients
- 1 cake (cake flavor of your choice, ideally a mix or leftovers)
- 1 cup frosting (store-bought or homemade)
- 1 cup white chocolate (for coating)
- Edible colored details or candy eyes (for decoration)
Instructions
- Crumble the baked cake into a large bowl until it resembles fine crumbs.
- Combine the frosting with the crumbled cake and mix well until fully combined.
- Shape the mixture into small balls, about 1 inch in diameter, and place them on a parchment-lined baking sheet.
- Freeze the cake balls for about 30 minutes or until firm.
- Melt the white chocolate in a microwave-safe bowl in 30-second intervals, stirring until smooth.
- Dip each cake ball into the melted chocolate, allowing excess to drip off.
- Return the dipped cake pops back onto the lined baking sheet.
- Decorate with edible colored details or candy eyes before the chocolate sets.
- Let the chocolate fully harden before serving.
Notes
Use leftover cake for convenience and involve kids in the decorating process for added fun.